Another great pros about 360 image is that you can literally put much more visual information into one spot of Facebook feed (one post). Being in the era where everyone trying to have his own piece of attention – this can be really handy thing.
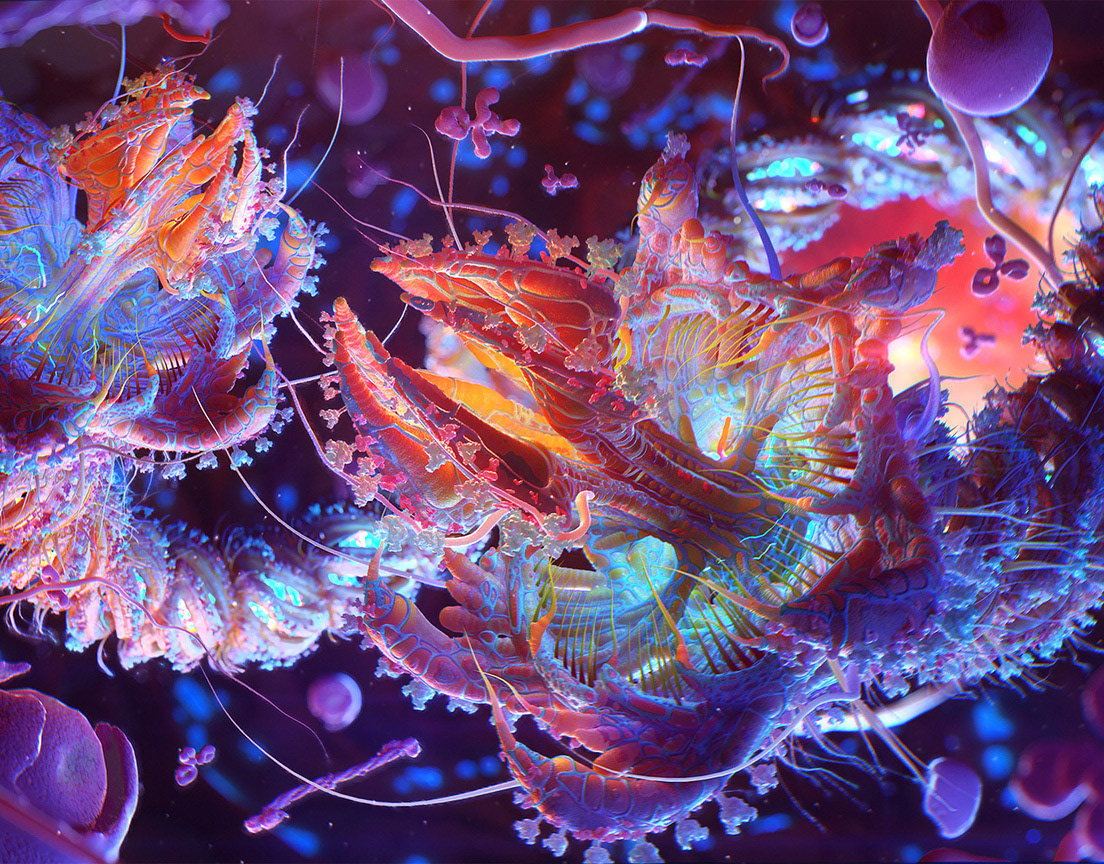
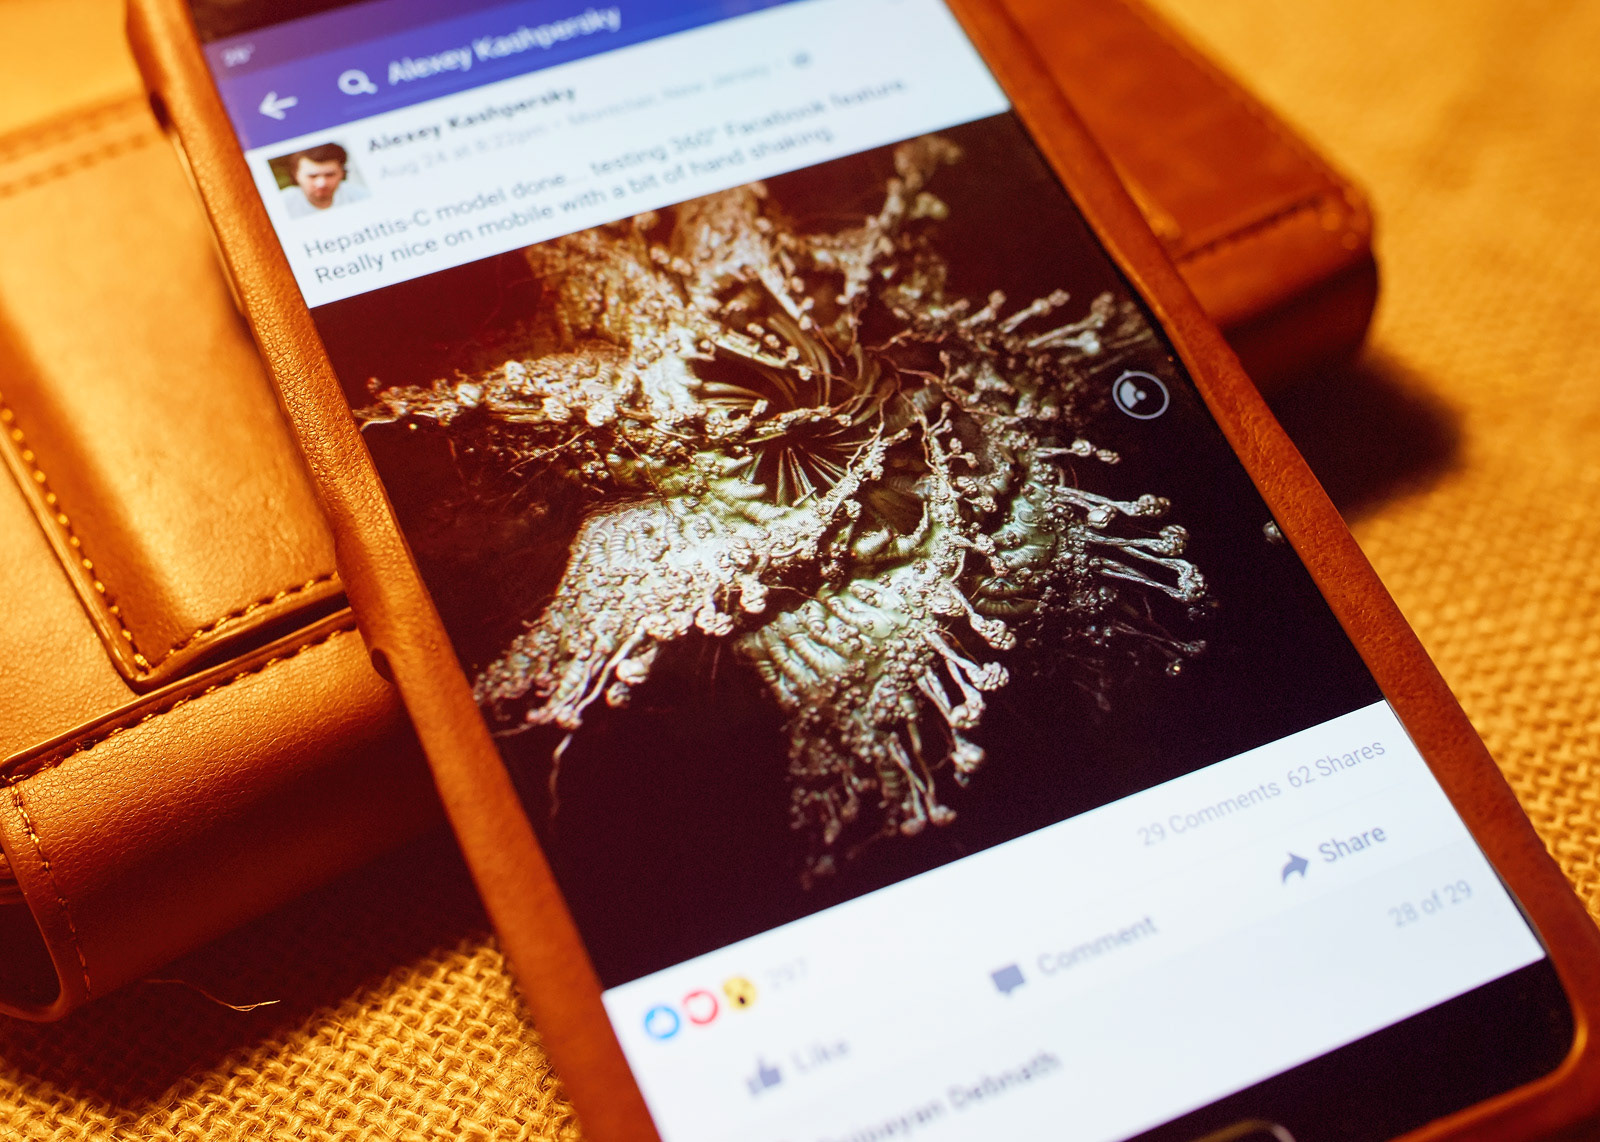
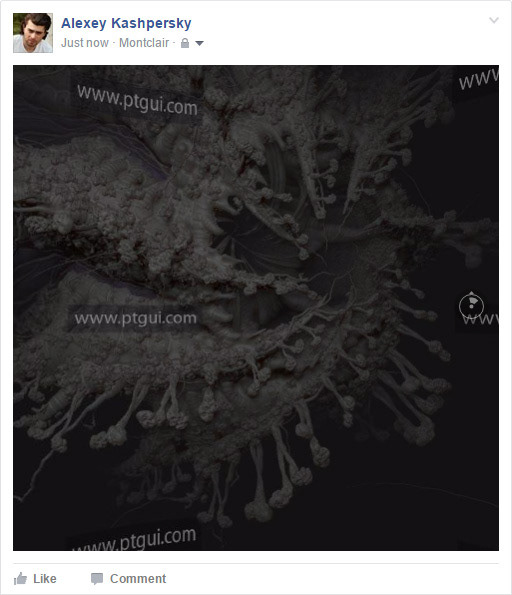
I even tried to create my own 360 image of the Hepatitis-C model that I’m working on now, which came out pretty interesting and was well accepted by friends. Thanks a lot guys for support!
Answering your numerous questions about “-how the hell…” I decide to create this steep by steep tutorial.
First of all want to mention that I will not talk here about creating the real 360° panorama render, you can see the tutorial covering this question here.
I will only show the thing of creating fake 360° JPG’s from your static artworks that Facebook will accept as if they were real panorama images.
I will only show the thing of creating fake 360° JPG’s from your static artworks that Facebook will accept as if they were real panorama images.
Method 1 – Manual
Actually this method is all about changing Exif data of the static image to explain Facebook that we uploading panorama instead of regular image.
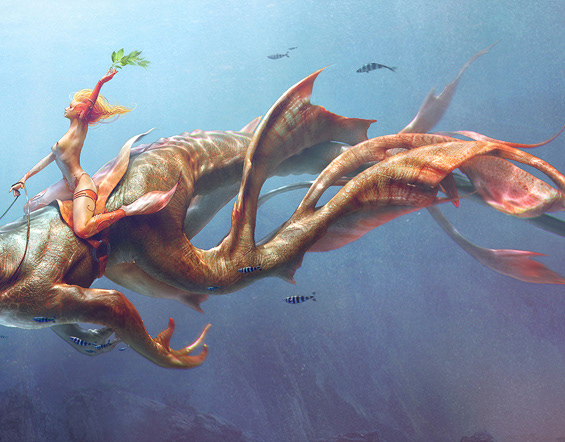
1. Prepare and compose your image, so all visual accents and main characters will stay mostly in one horizontal line.
Remember, the main thing here is to keep the height and width ratio as 1:2. For example if the width is 6000px the height should be 3000px. Width 17408px – height 8704px etc.
Don’t forget to “Save For Web” the artwork to lower the weight of the file as much as possible so people will not have to wait a lot until your panorama is loading.
Here is how my image look like on this stage:

2. For further work you will need to download couple of Exif Tools:
– Download ExifToolGUI v5.16 following this link and unzip the archive.
– Download ExifTool here and extract. Rename the extracted file to exiftool.exe and paste it to C:\Windows\ It will require the Administrator rights.
– Download the template (‘GPano2.ini‘) which will allow you to edit the Make and Model fields of the EXIF data in your image within ExifTool.
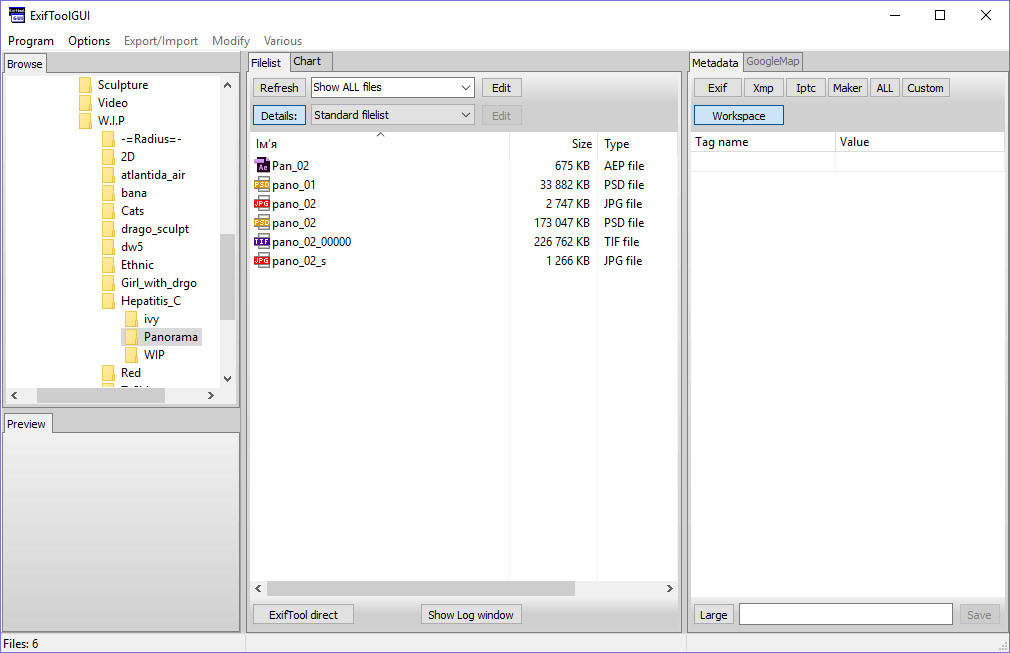
3. Open ExifToolGUI from the place where you unzip it and choose the .JPG image that you are going to convert to panorama.
4. Go to Program>Workspace definition file>Load and choose GPano2.ini ,wherever you saved it from the previous step.
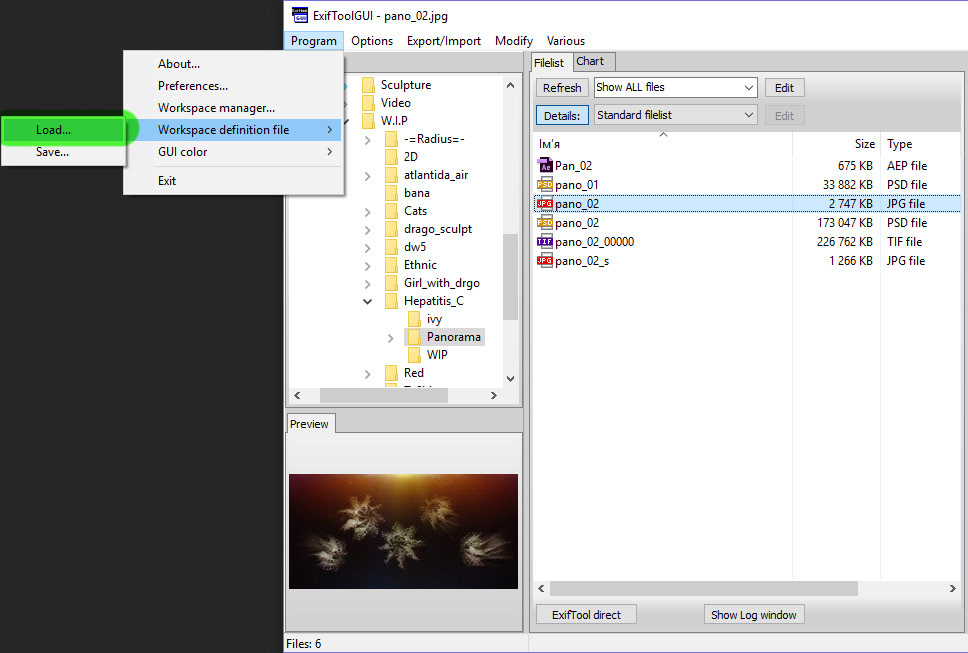
This file will allow you to change the EXIF data in the Workspace properties under the Metadata section.
5. Click on Workspace in the Metadata section to the right. Change the values to match these. To activate the “change mode” press Enter / to save the value after you are done – press Enter again.
!!! Make sure that the size values fit the dimentions of your artwork. Also doublecheck that it’s 1:2 ratio.
!!! Press “Save” after you are done with changing all values.
!!! Make sure that the size values fit the dimentions of your artwork. Also doublecheck that it’s 1:2 ratio.
!!! Press “Save” after you are done with changing all values.

6. Upload your image to Facebook and you are done!
Method 2 – Automatic
This method requires any free or paid panorama creation software. I will show you an example using PTGui convertor which costs around $100 for single license.
1. Prepare and compose your image, so all visual accents and main characters will stay more or less in one horizontal row.
Remember, the main thing here is to keep the height and width ratio as 1:2. For example if the width is 6000px the height should be 3000px. Width 17408px – height 8704px etc.
Remember, the main thing here is to keep the height and width ratio as 1:2. For example if the width is 6000px the height should be 3000px. Width 17408px – height 8704px etc.
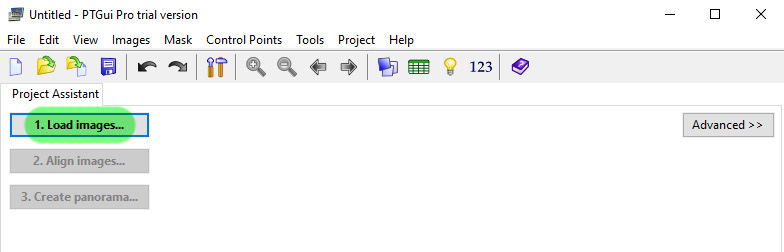
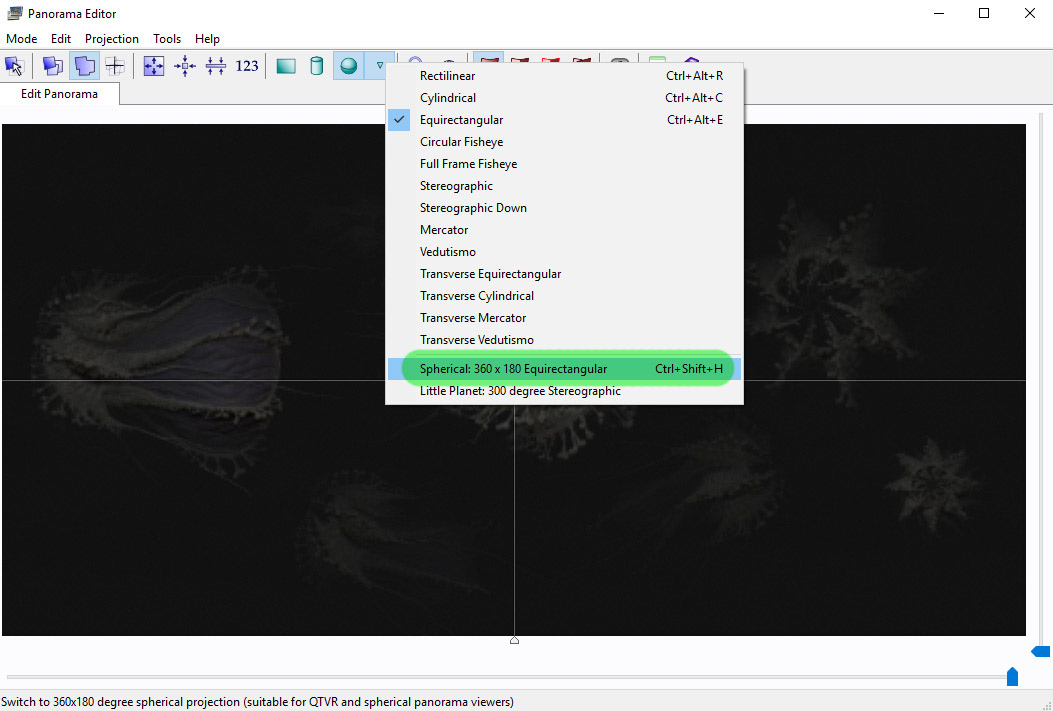
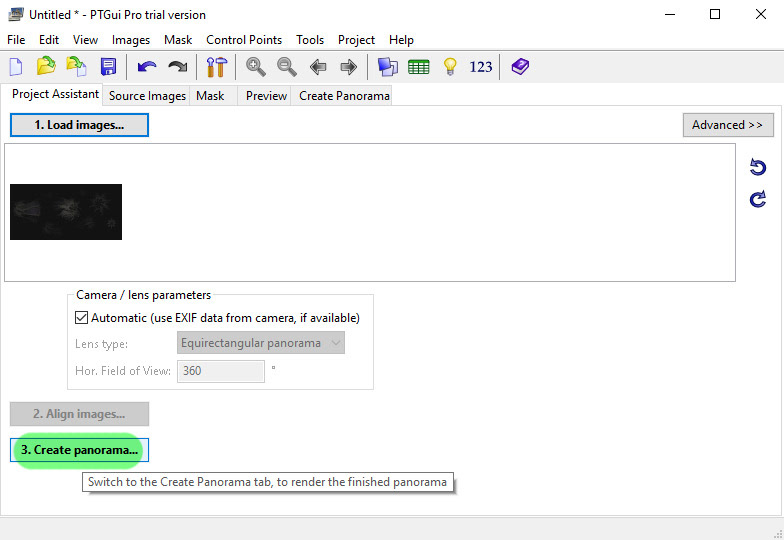
2. Open PTGui and click “Load Image” and choose your .JPG file.
3. In the Panorama Editor, from drop down menu choose “Spherical 360×180”.
4. Click “Create Panorama”
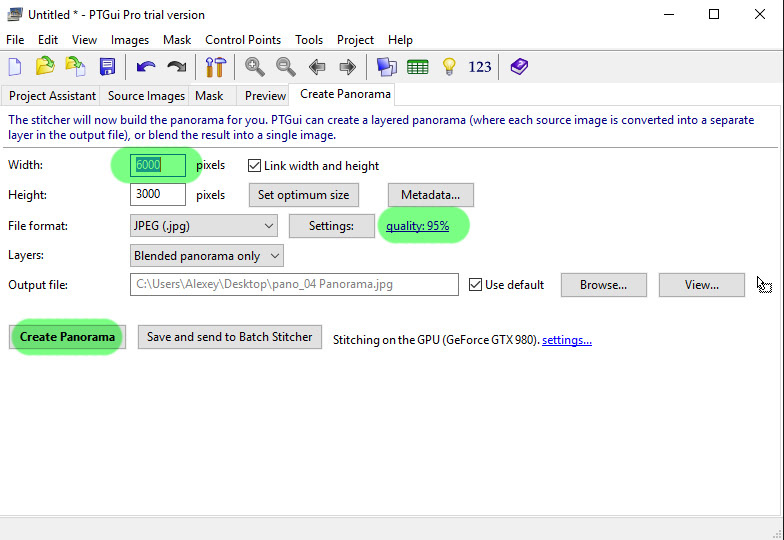
5. Choose the settings and the size you need and click “Create Panorama”
6. Upload image to Facebook and you are done! Just keep in mind that if you will use free or trial software it can cause different limitations or watermarks on the image, like I have below.
Hope it was useful! Have fun and be creative!