But as a small thank you for your interest and attention I did a walk through the process of creation. It’s not a lesson like “press here and get there”. At least it will help to get the general idea of my working flow and possibly will give a birth to some new wind in your artistic minds 🙂
Original article created for 3Dartist Magazine with kindly help of Colin McLaughlin from V-Ray Chaos Group.
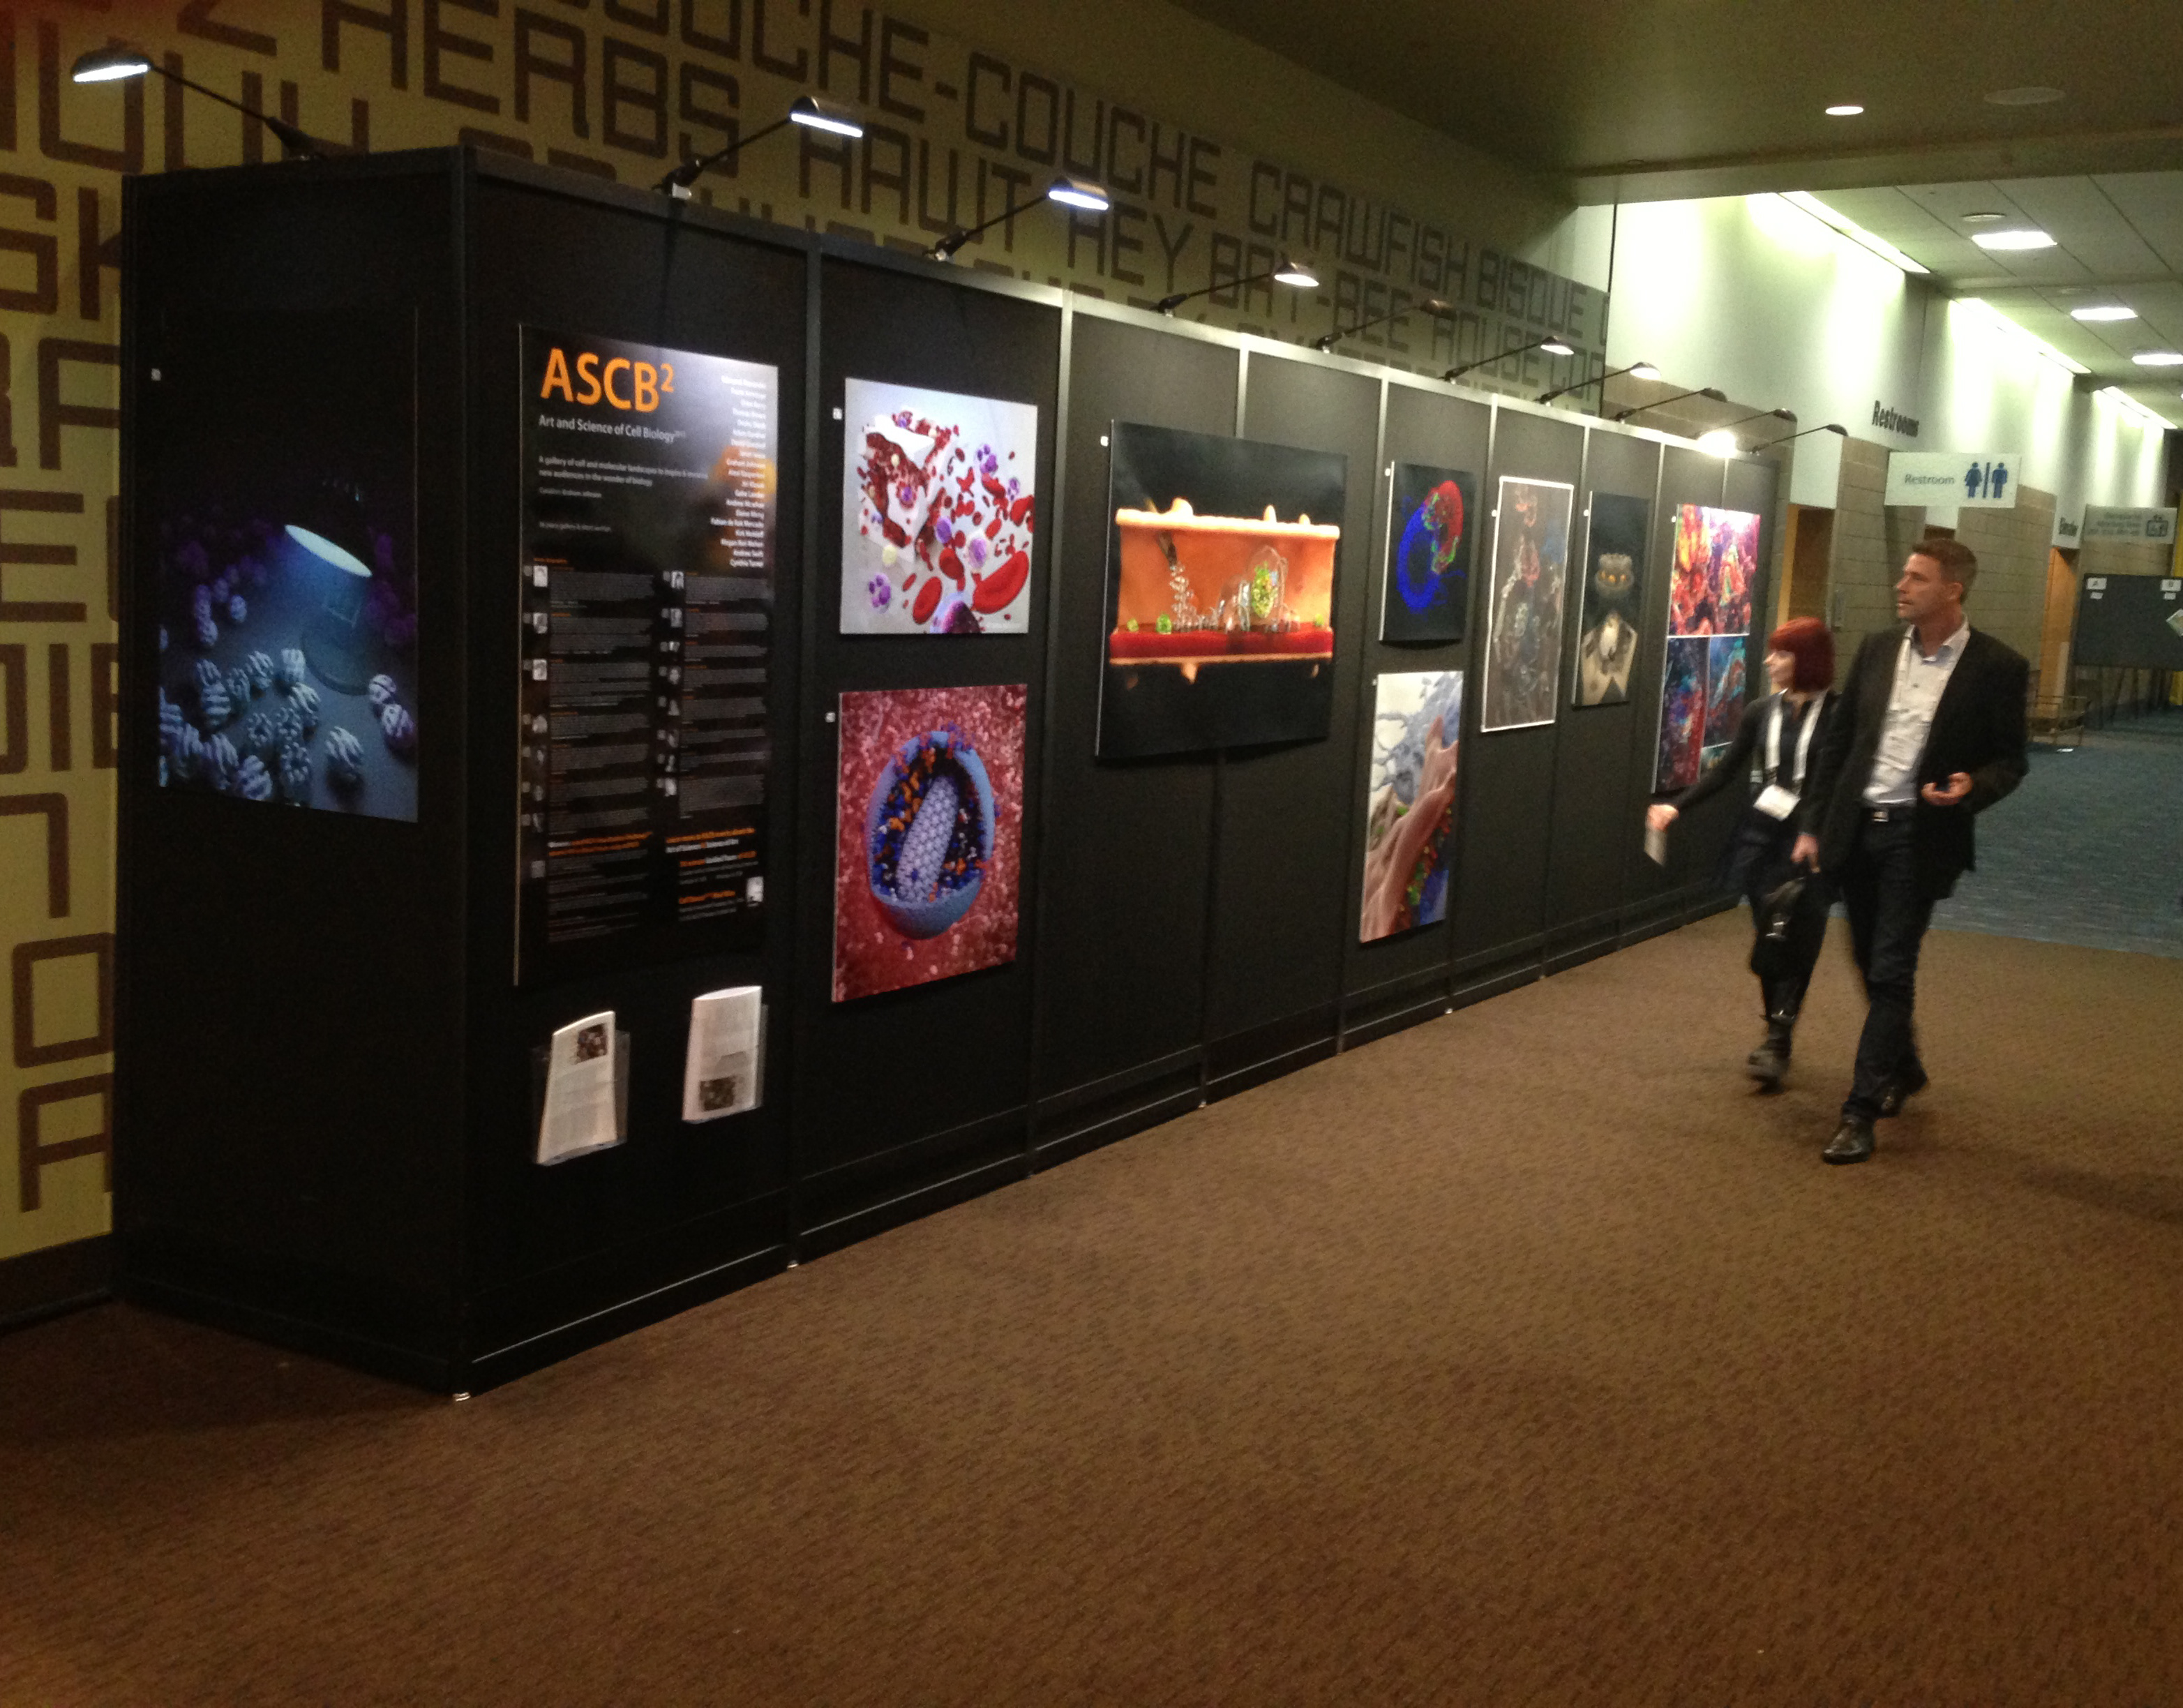
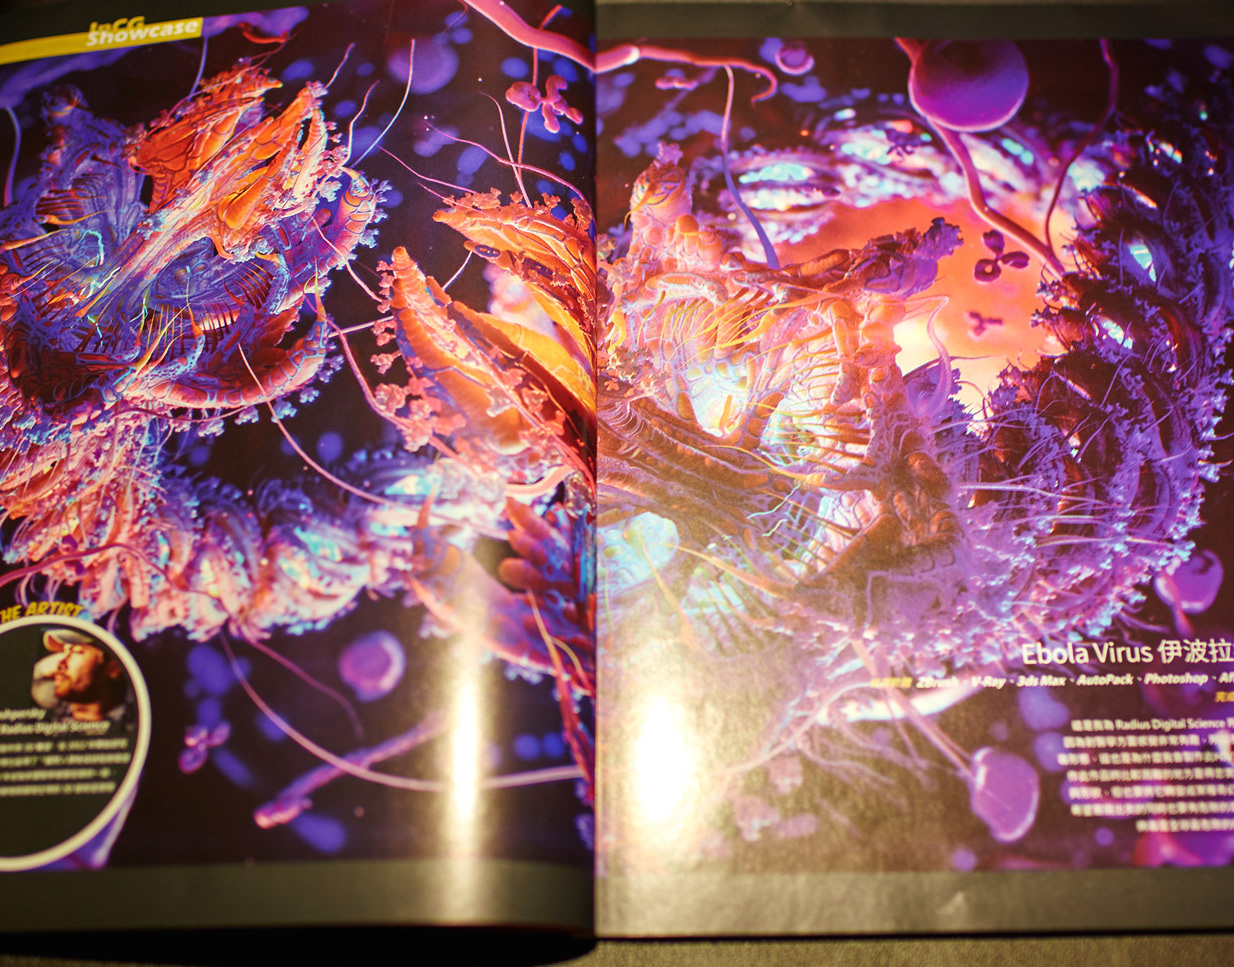
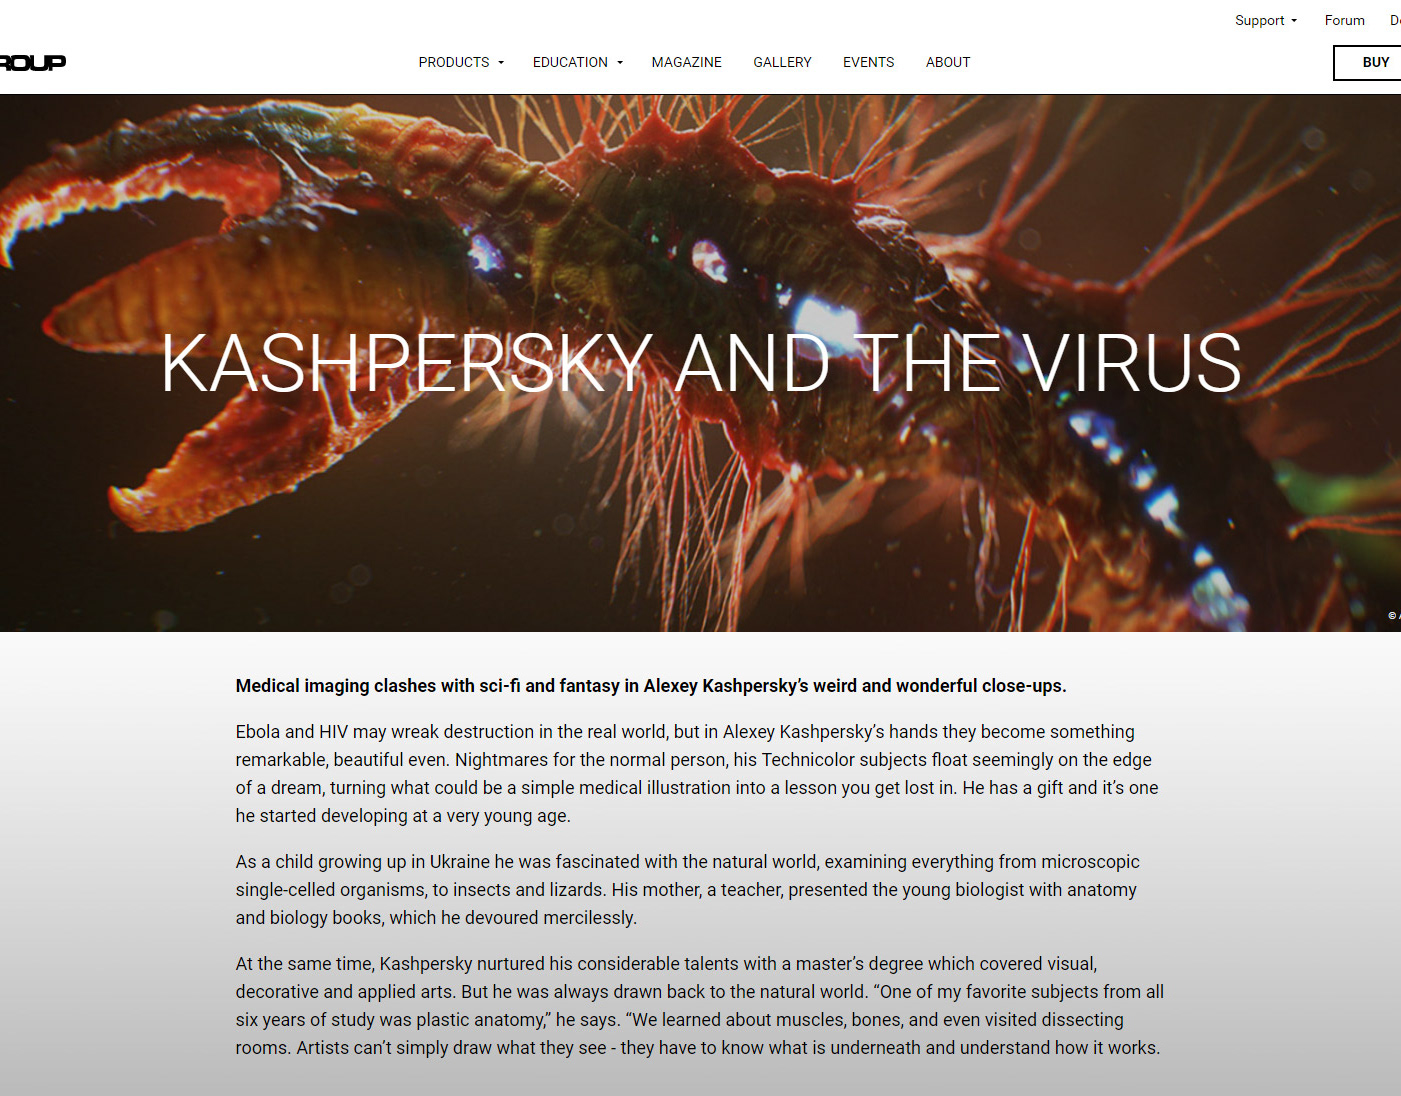
Ebola Virus 3D Making of

For this “Ebola Virus” Artwork, the R&D project that I did in Radius Digital Science, I used ZBrush for modelling and texturing, 3ds Max for setting up the scene, V-Ray for rendering and Photoshop with After Effects for the post-production process.
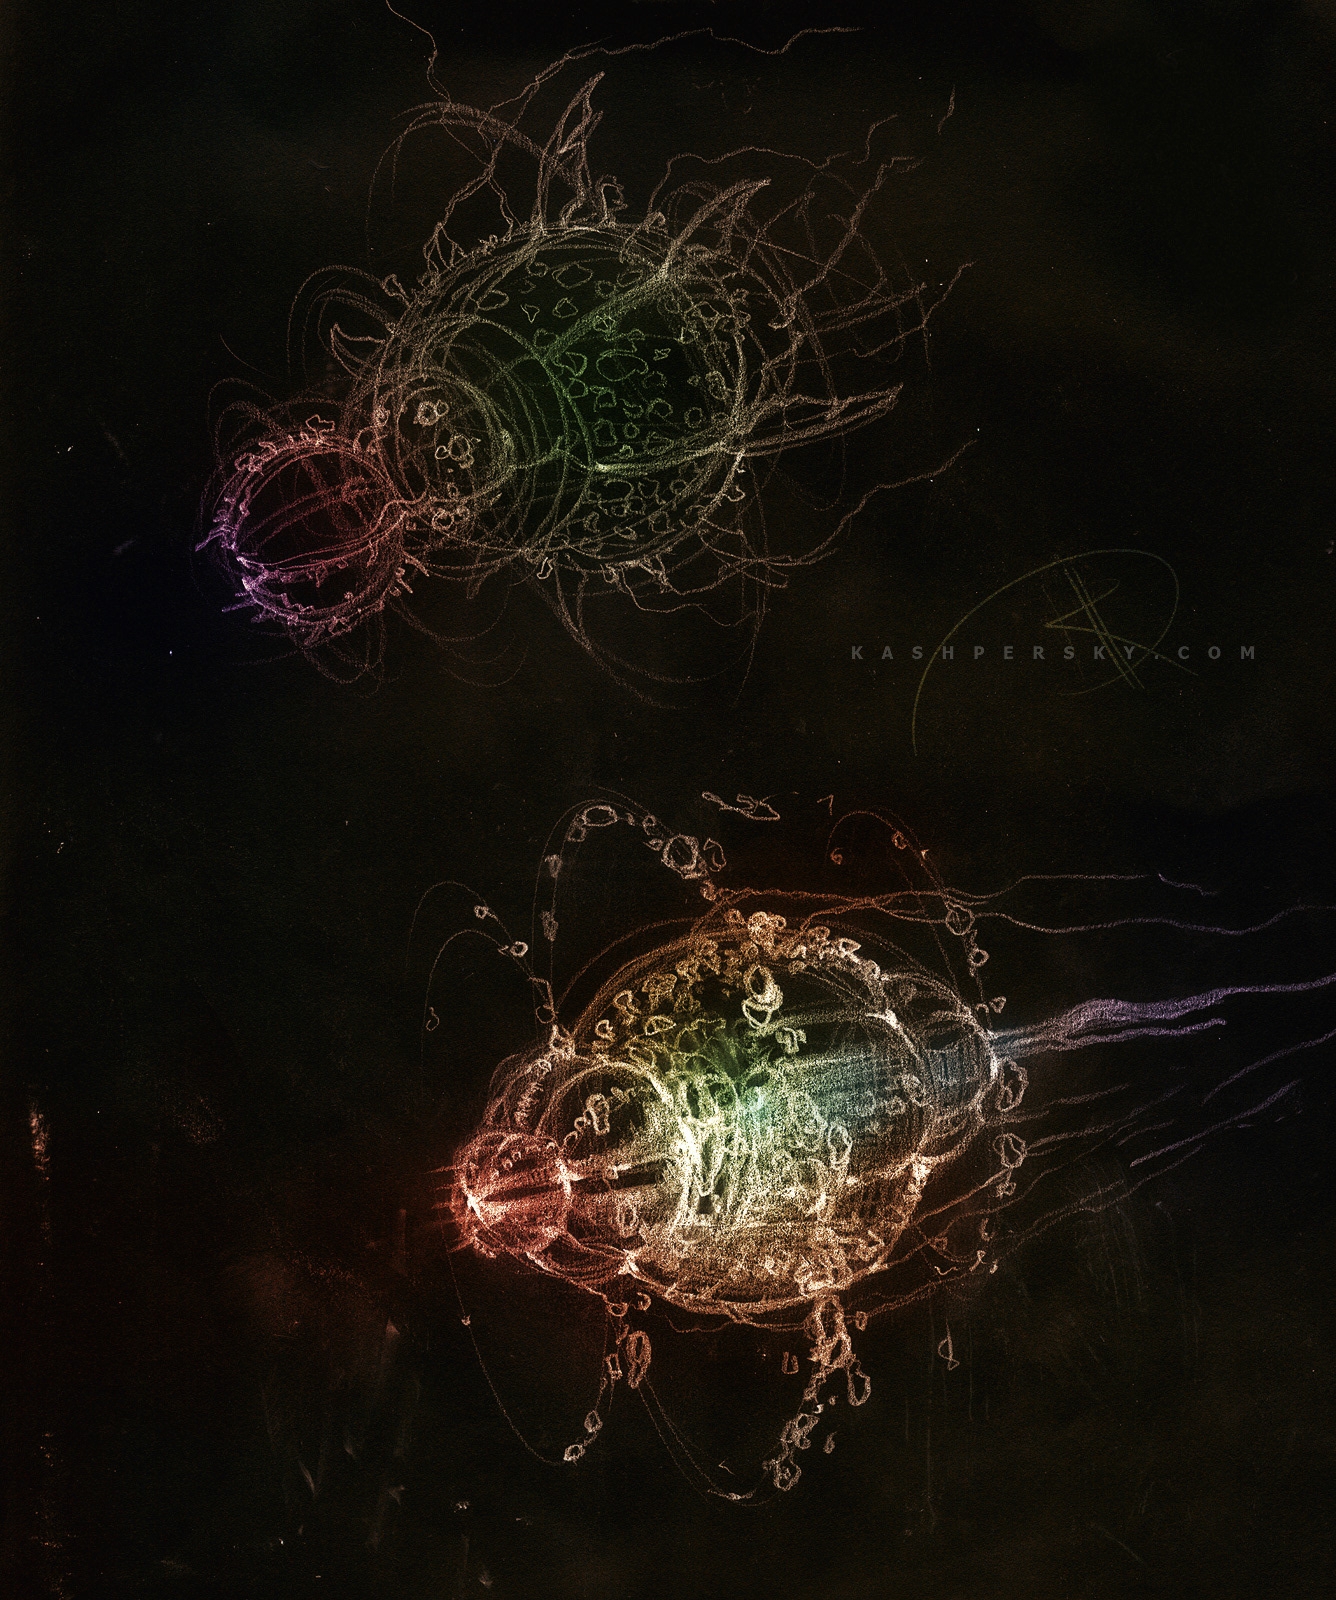
As always, I started this project by sketching on paper. I tried to learn the subject, understand how it works and express it in shapes. I bored my co-workers from Radius Digital with questions. As professional medical artists, they helped me a lot in understanding Ebola.
In general Ebola is a thief who pickpockets the cells of the human body, making our immune system think that everything is fine… until it isn’t.
My inspiration was an Alien predator in the shape of a herbivore. That’s how I got the visual look for the futuristic model. Unfortunately, I’ve lost all the pencil sketches that I did for this project, except my very first one (in the middle).
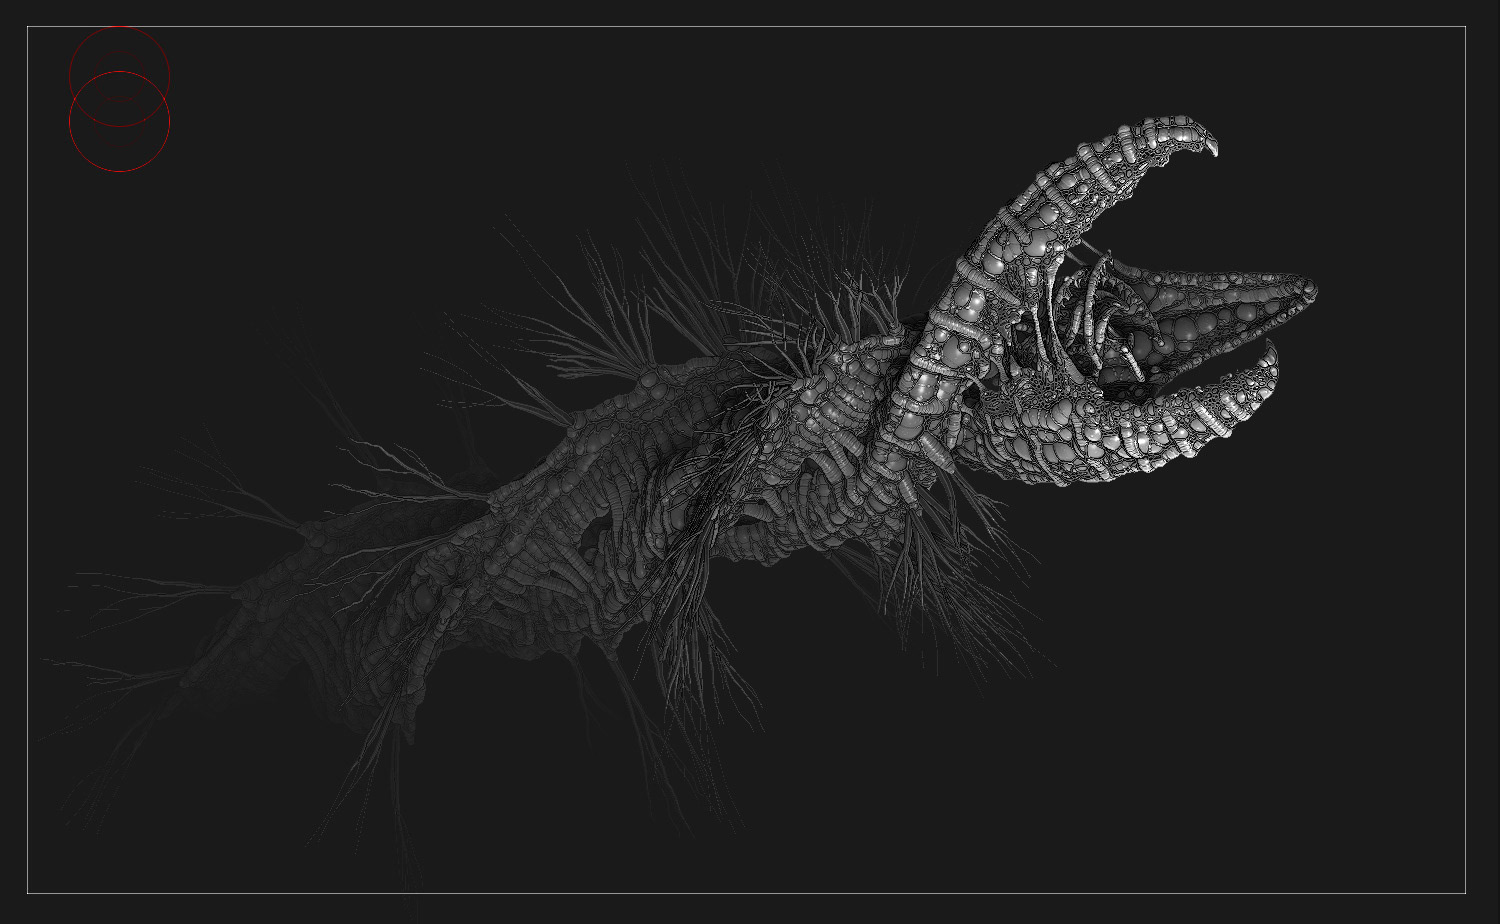
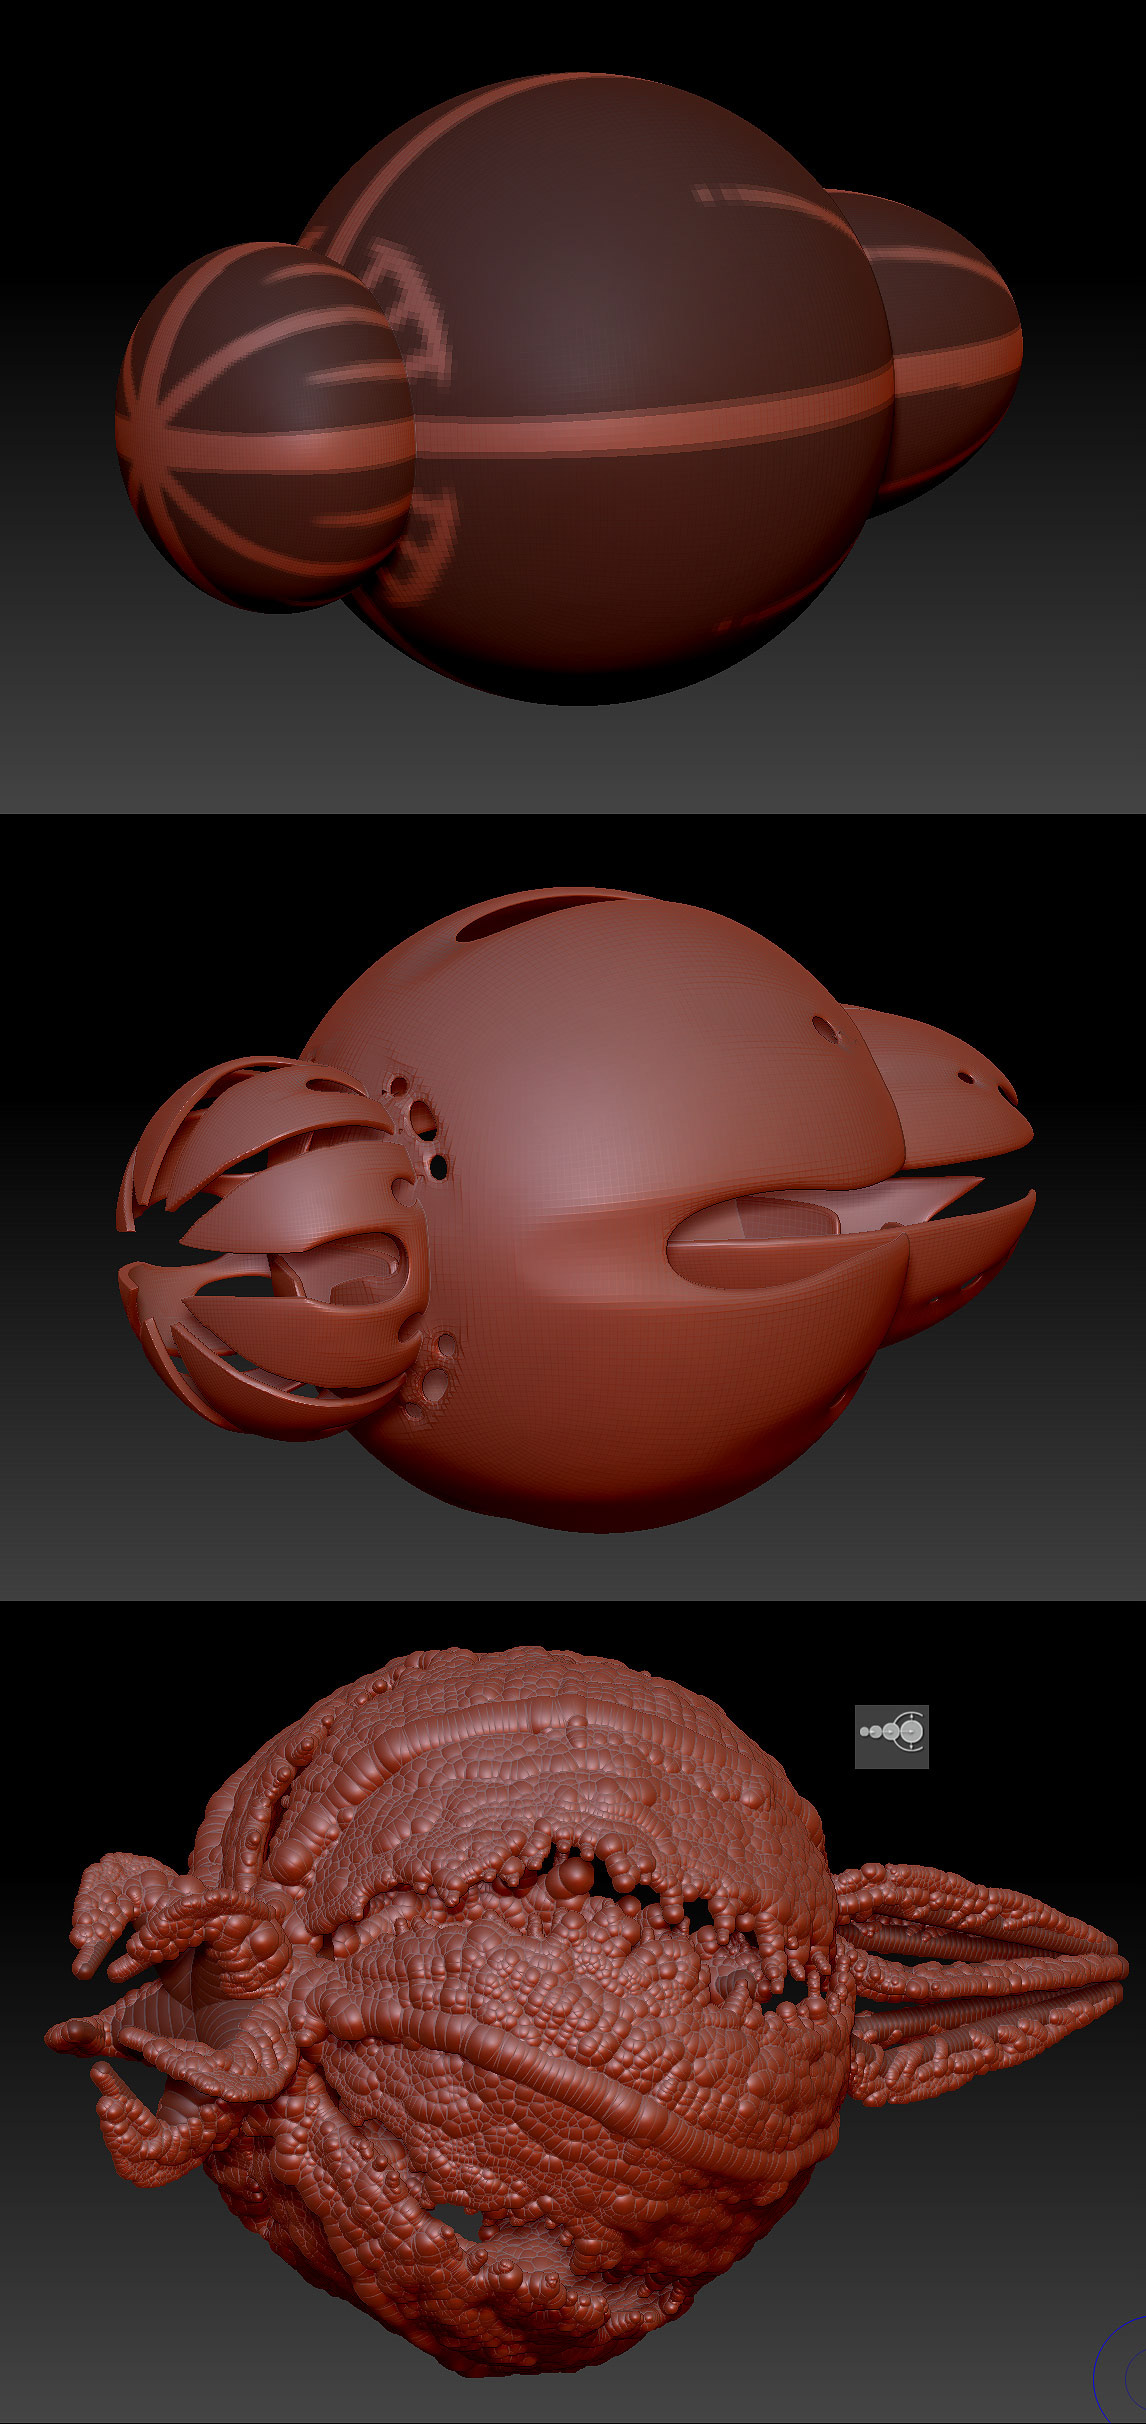
The very first 3D sketch was created with ZBrush. In this image, you can see that I started by blocking out the general shape with ZSketch and then building the polymesh 3D from it.
One tricky thing is getting the spherical details from the sketch model into the new polymesh 3D with the Project option. It transfers the organic bumps to the new surface. The result is the image below.
Next, I added small details. It might sound funny but I got the hairs on the Ebola body using the 3ds Max plugin IvyGen. Spending some time discovering the settings, I found the exact hair shape I needed. Then, I placed these hair bundles all over the body by hand, which took a fair amount of time. Also, I added small details using an Edgeloop. I learned this from my friend who worked on the Prometheus movie concepts. If you are interested in how it works, Google “Panel loops ZBrush”.
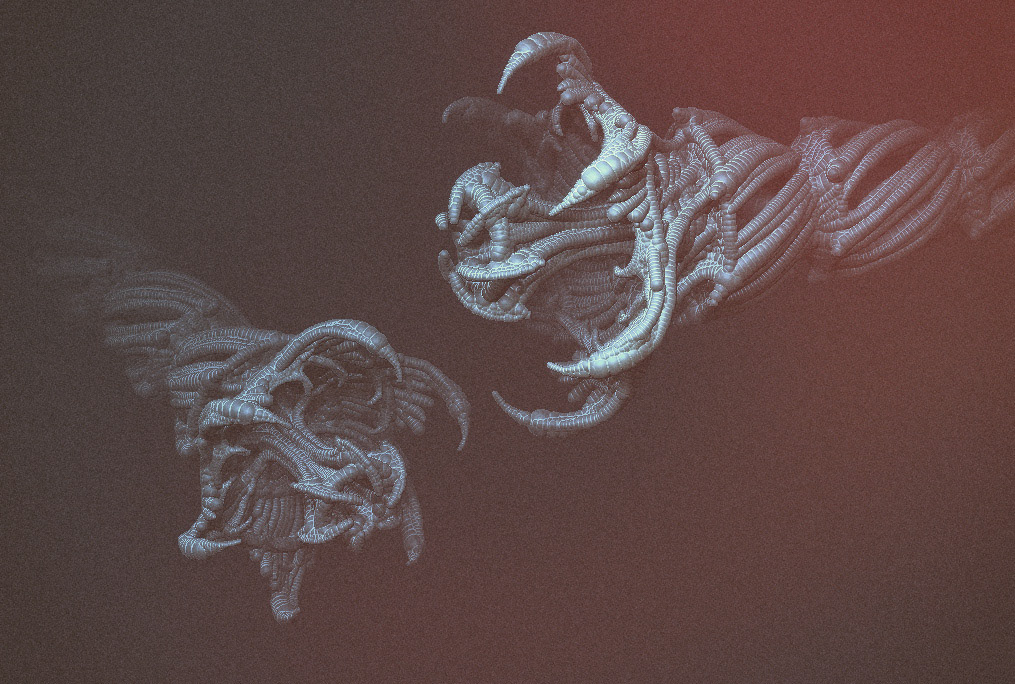
Do you think the creature is beginning to look like the Sand Worm from Frank Herbert’s Dune? I realised it did, and this likeness is not what I was aiming for. I went back to the beginning and began creating a new sketch and model. This time, I was happy with the result.
Adding more details.
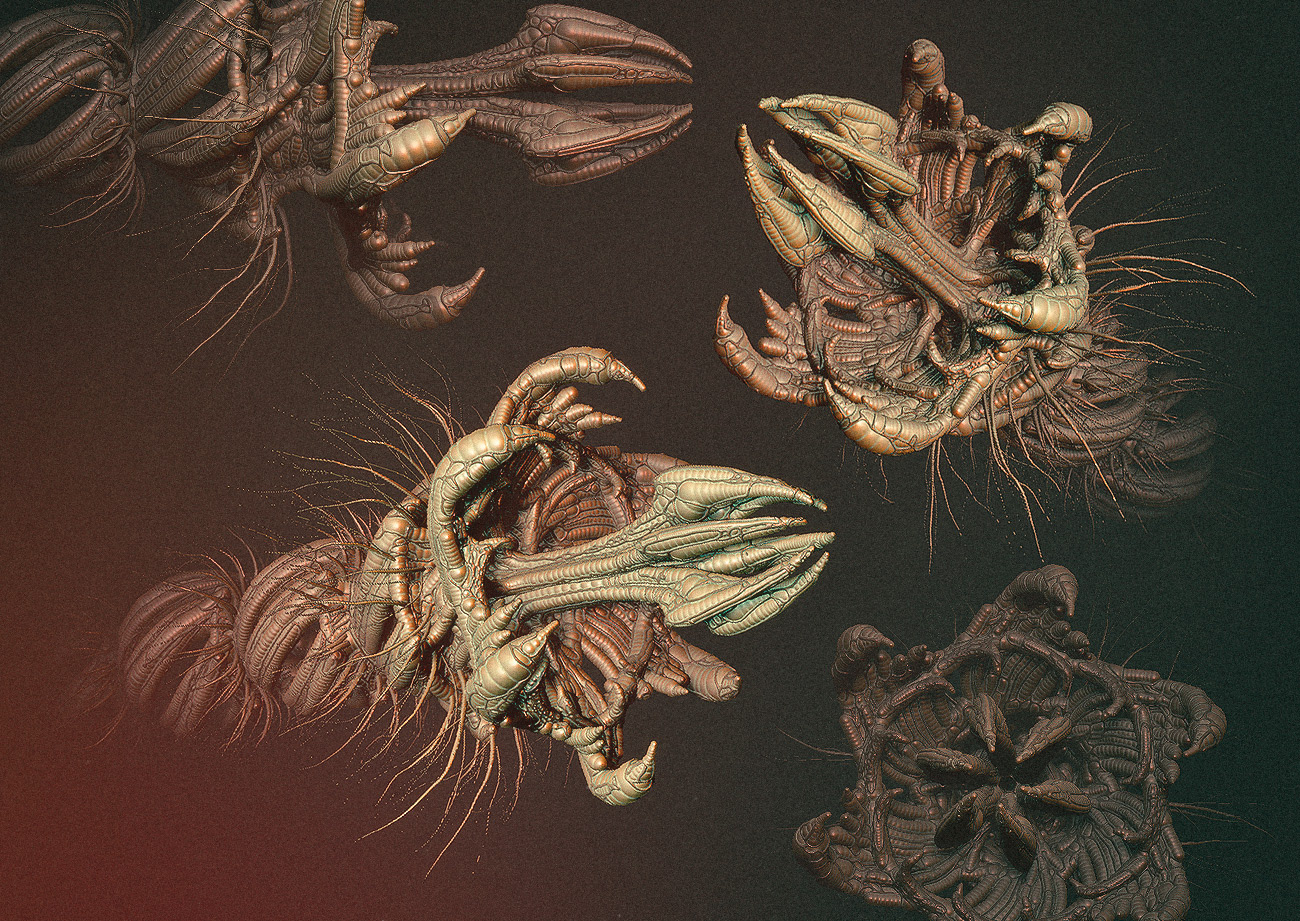
The hair was done with IvyGen. Additionally, the small elements were originally created from the AutoPack medical plugin, but I sculpted and unwrapped them myself in ZBrush.
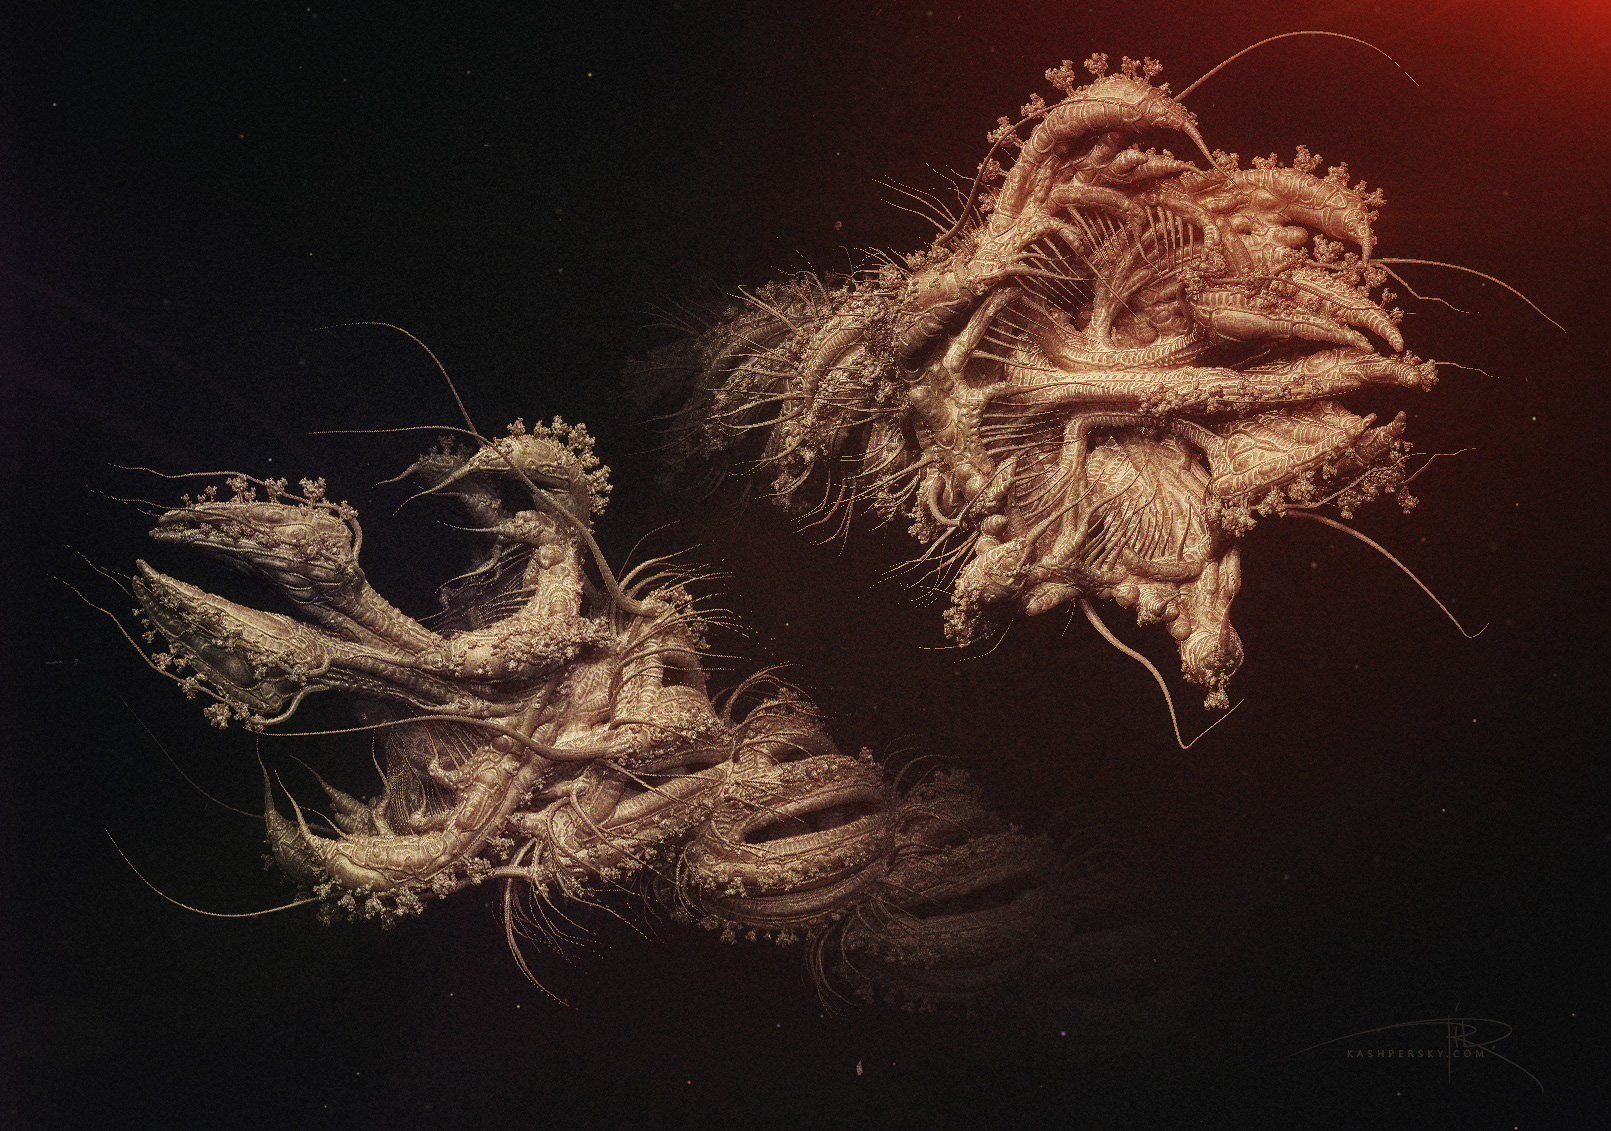
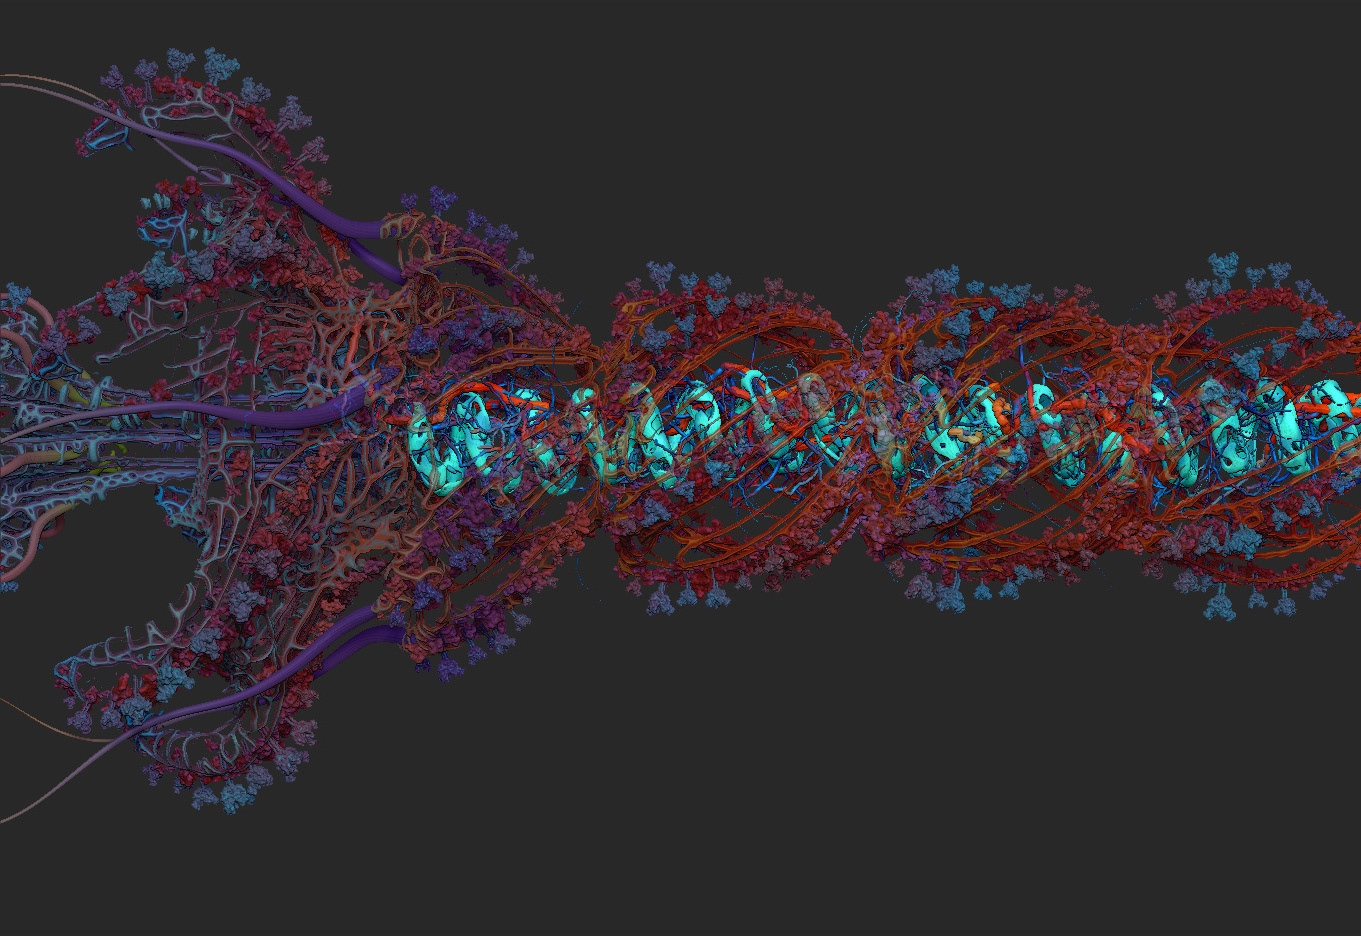
The next step was creating the UVs for each sub-tool. As far as the model, the details are so complex it may seem impossible to create with a single UV, but it is possible. The unwrapping was done using the automatic ZBrush AUV tiles option. After this, I switched to texturing, which was done completely by hand in ZBrush. Above is the result.
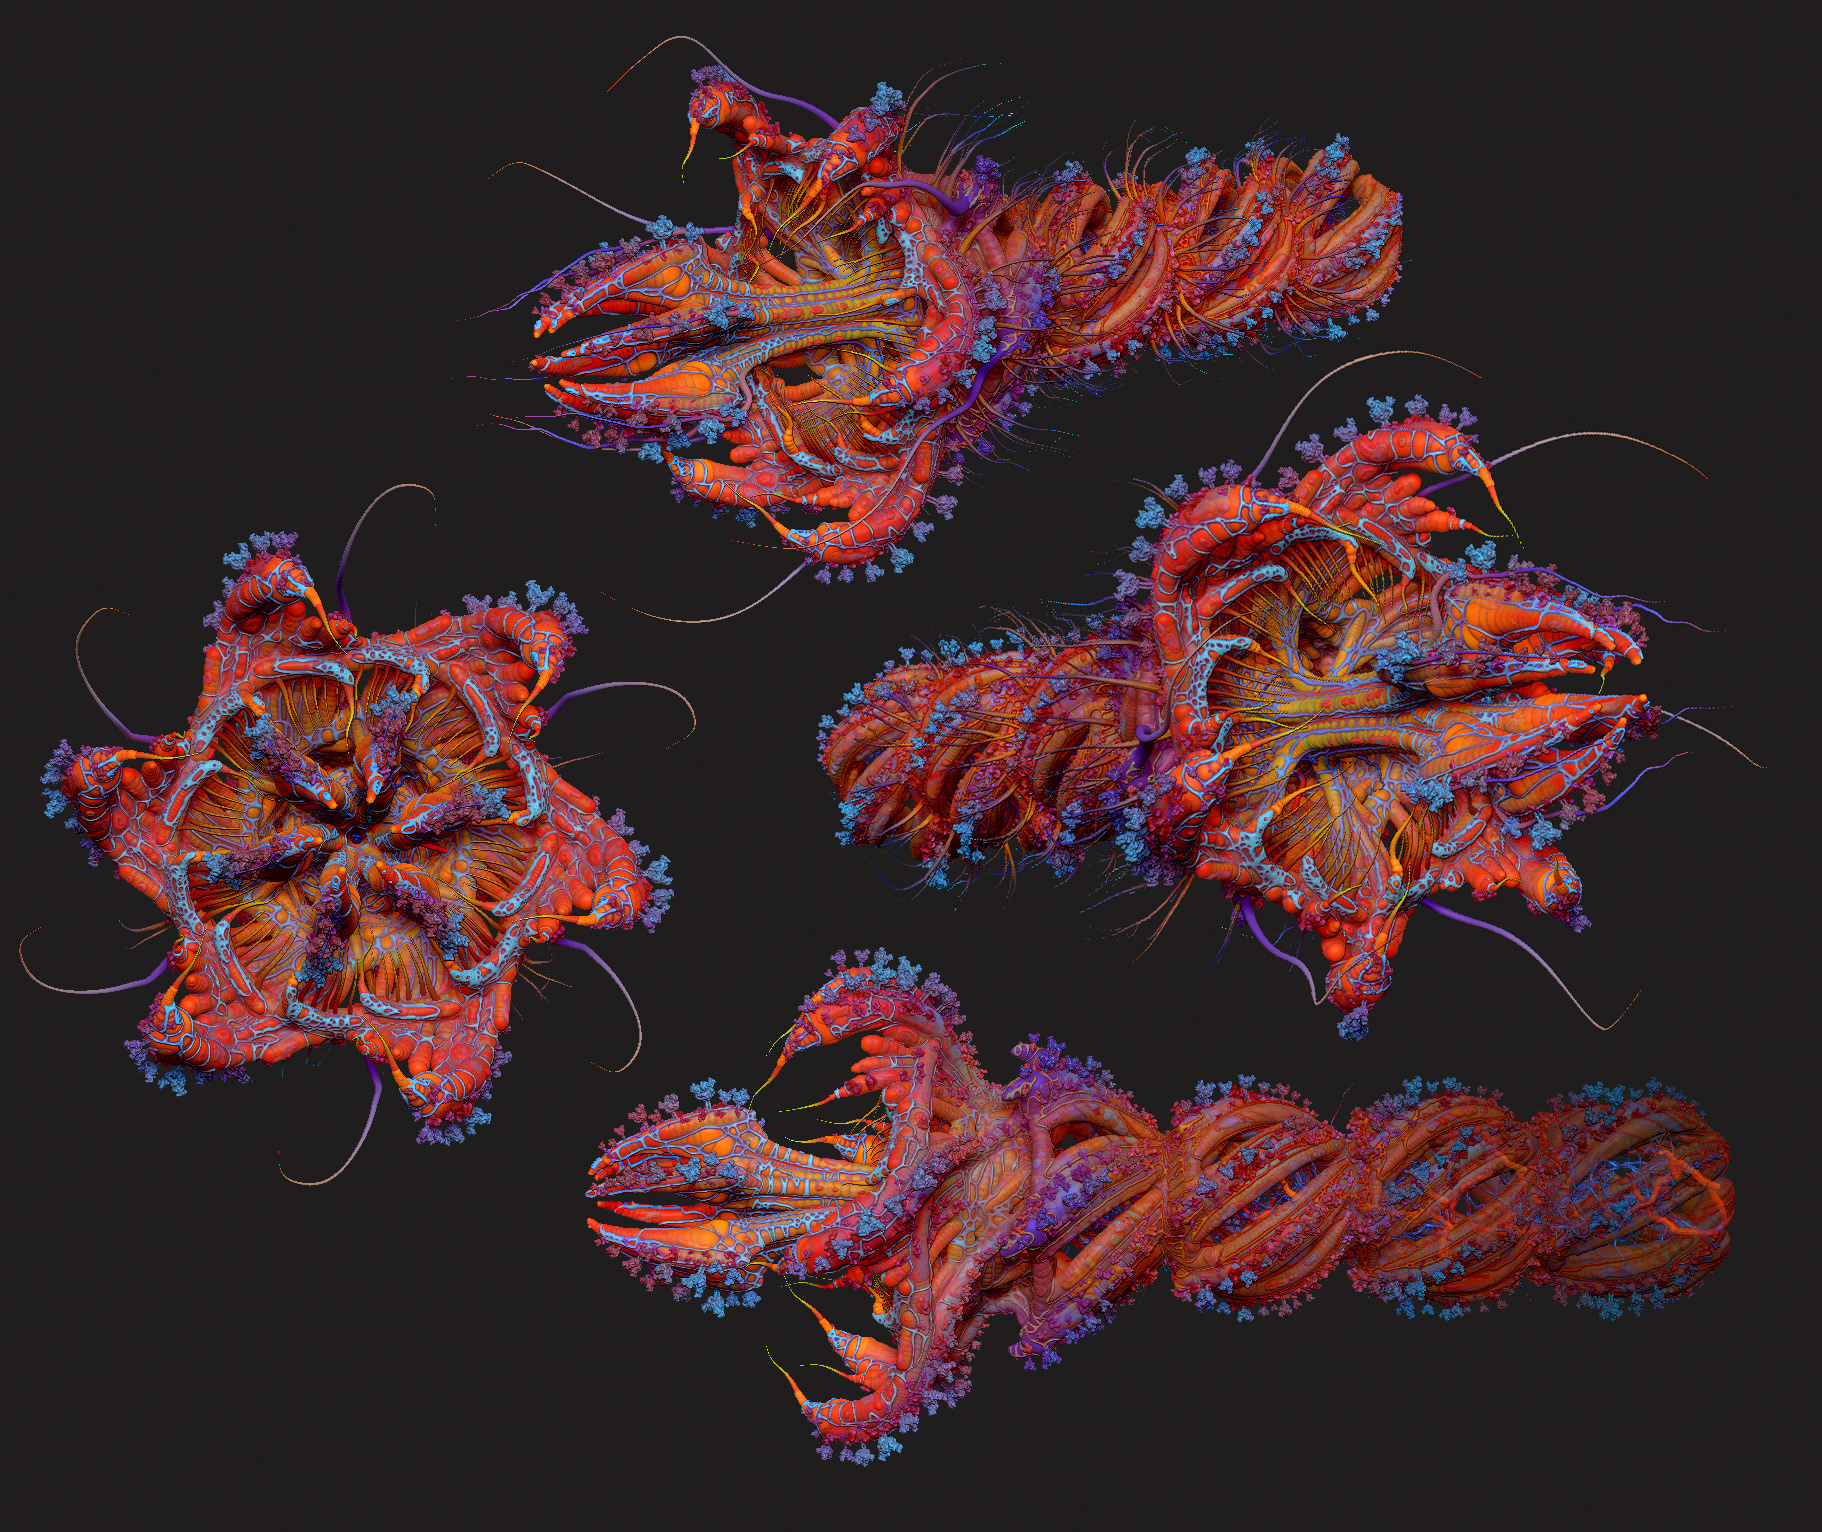
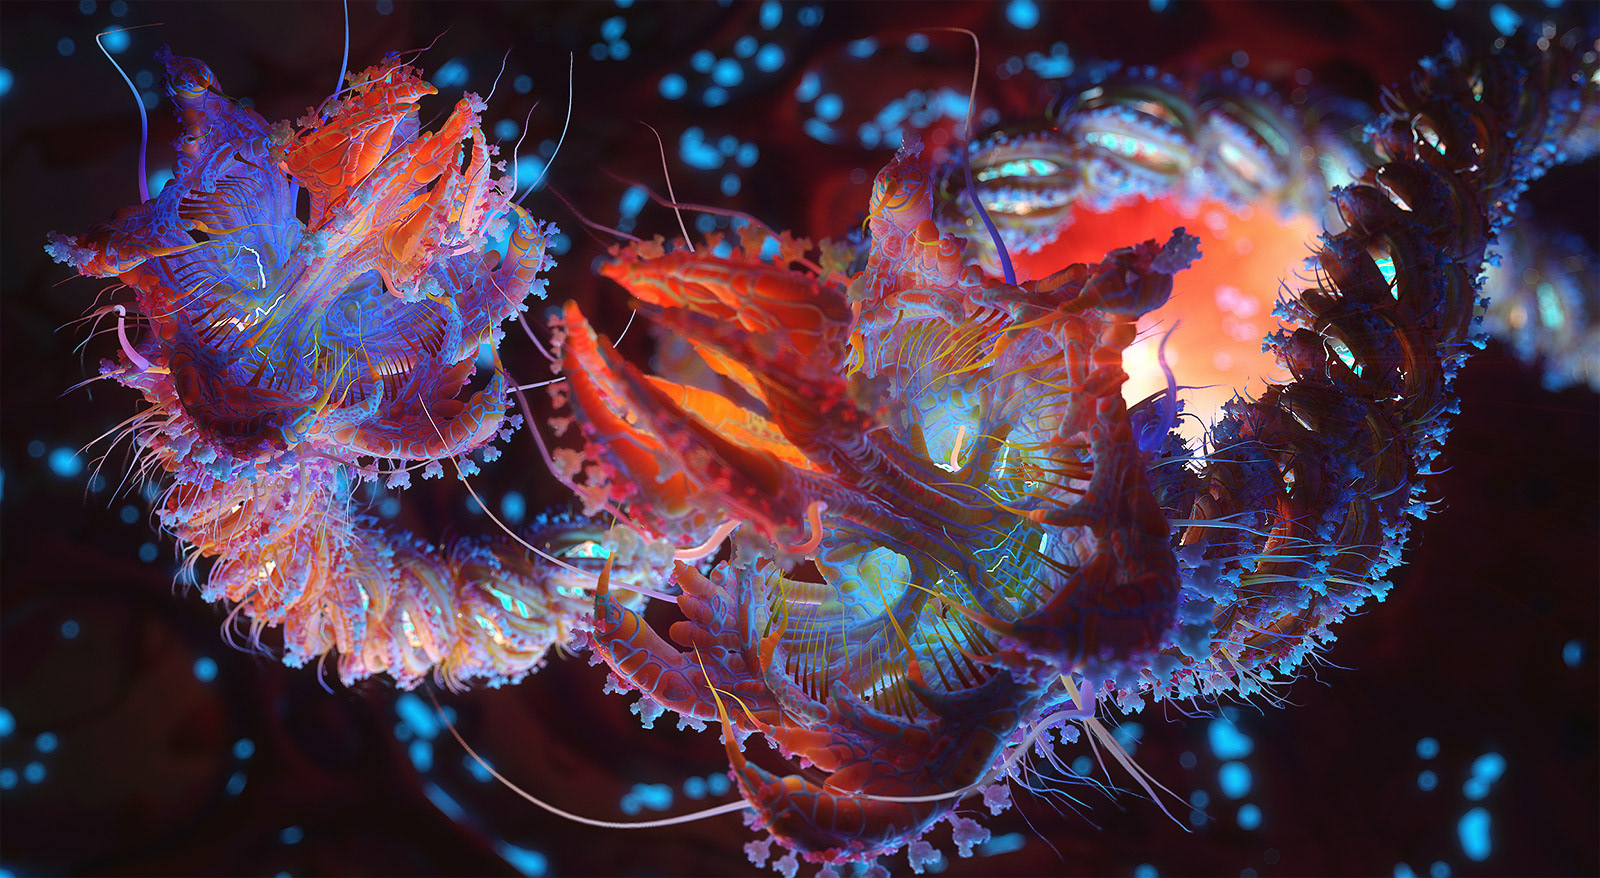
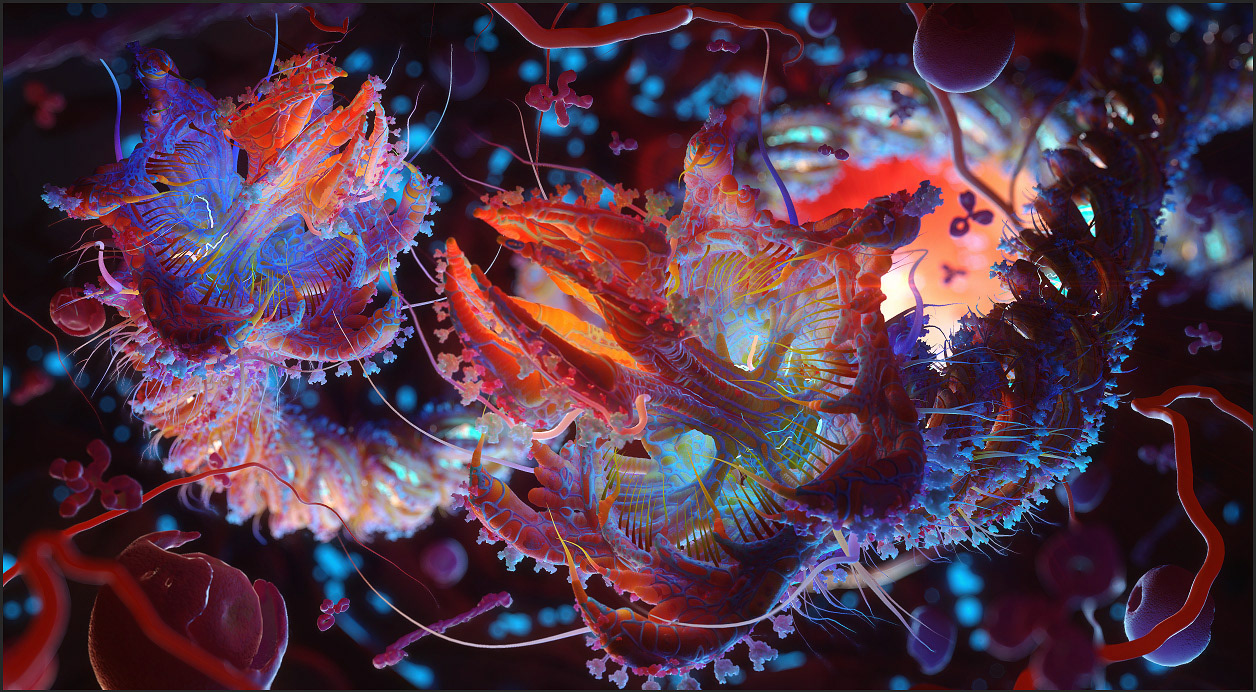
In my head, Ebola had to shine from the inside, so I decide to make the spiral looking element glow blue.
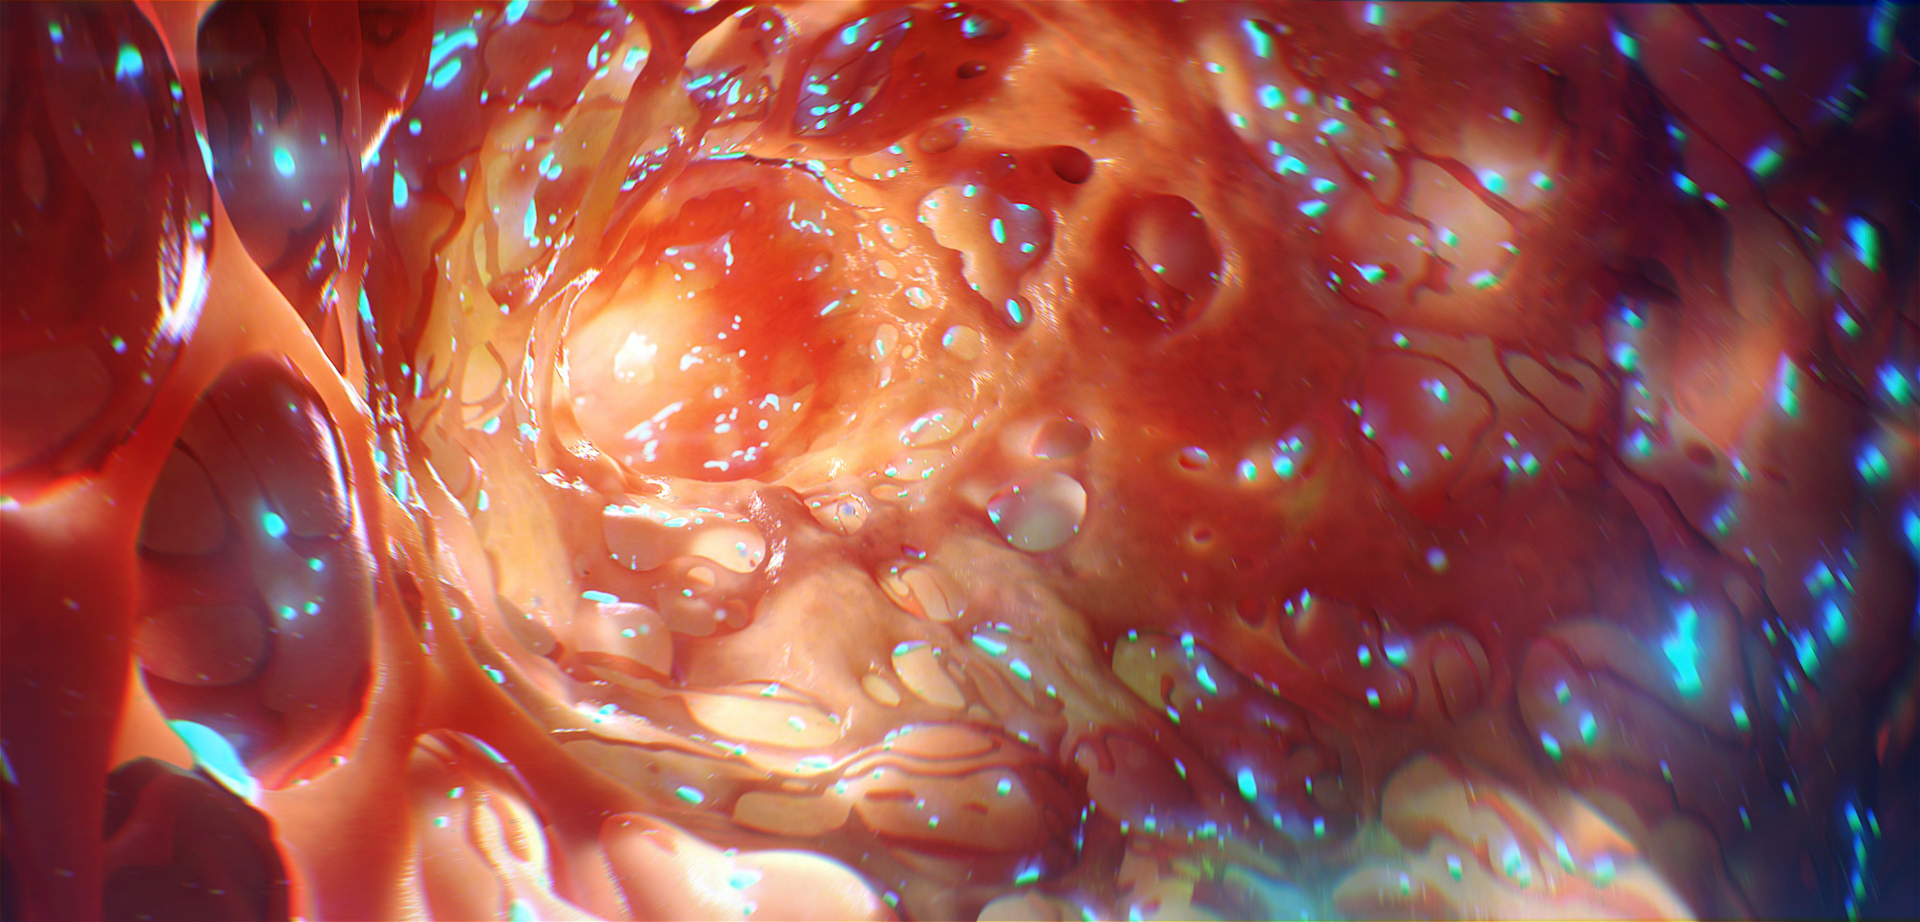
I decided to create the environment later in my illustration. After consulting with my colleague, I understood that the cells most frequently attacked by Ebola are the vessel wall’s cells. That’s why I created the vessel tunnel as an environment for Ebola.
At this point, I decided it would be a good time to start exporting the models to 3ds Max for scene and render setup. This was the most difficult step. The model itself was so heavy that there was no way to export it to 3ds Max with its length and detail. Of course, there was no way to duplicate it in the scene or put two of them in the image like I was planning.
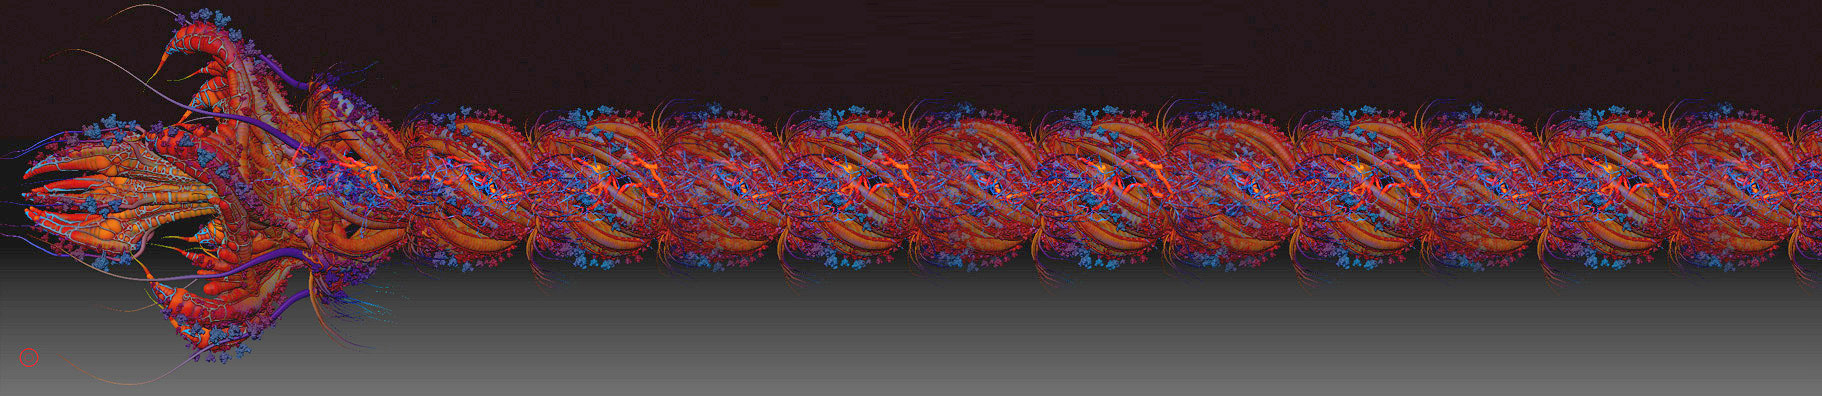
The solution was to break the model into parts and make them different poly counts. As a result, I had a construction I could put more detailed, focused model parts into. These were put into the DOF with a low poly count. It’s easier said than done, especially when your model work is done, but the UVs are on. This took quite some time, but it resulted in a model that contained sectors with different polycounts, but with the same textures as the original hi-poly parts. For the test render, I only rendered the tail.

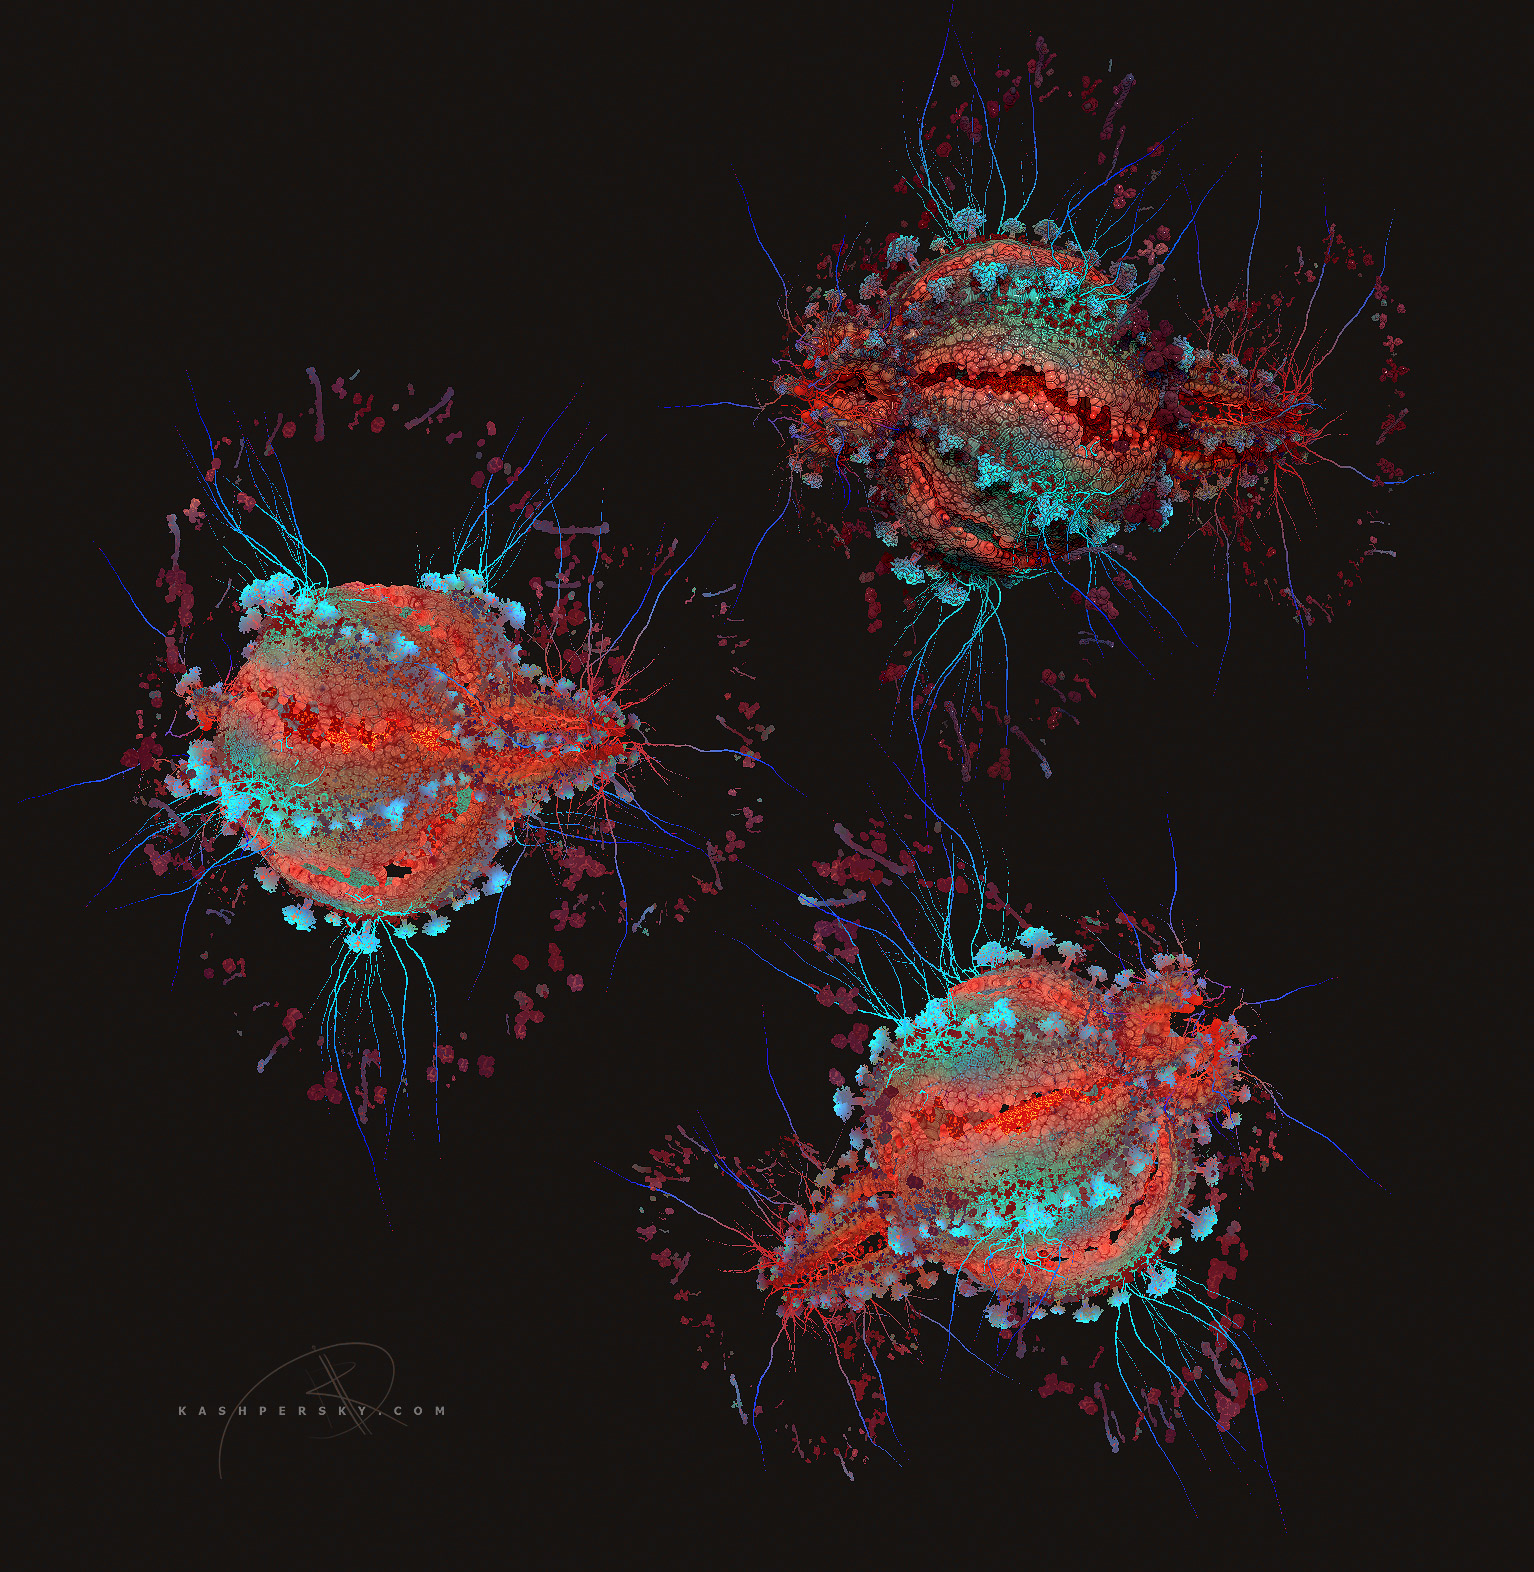
The tail turned out nicely! After I finished this stage, I was able to bring two of them into the scene without crashing the PC. The first render test was done with VRaySSS material.
Working and setting up the VRaySSS material, I was very happy with the results. It was very soft and the shading was really coming through.
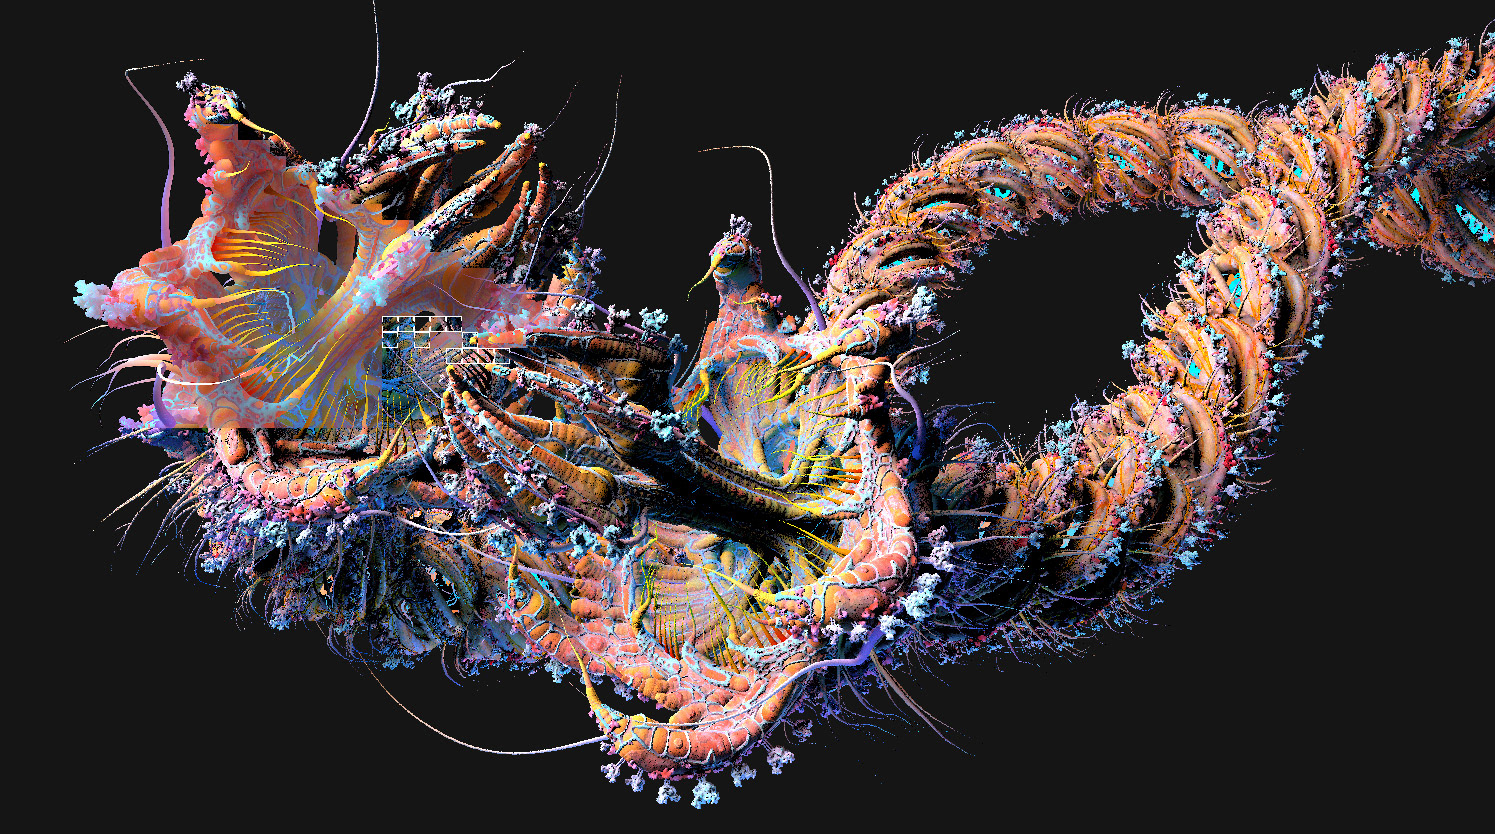
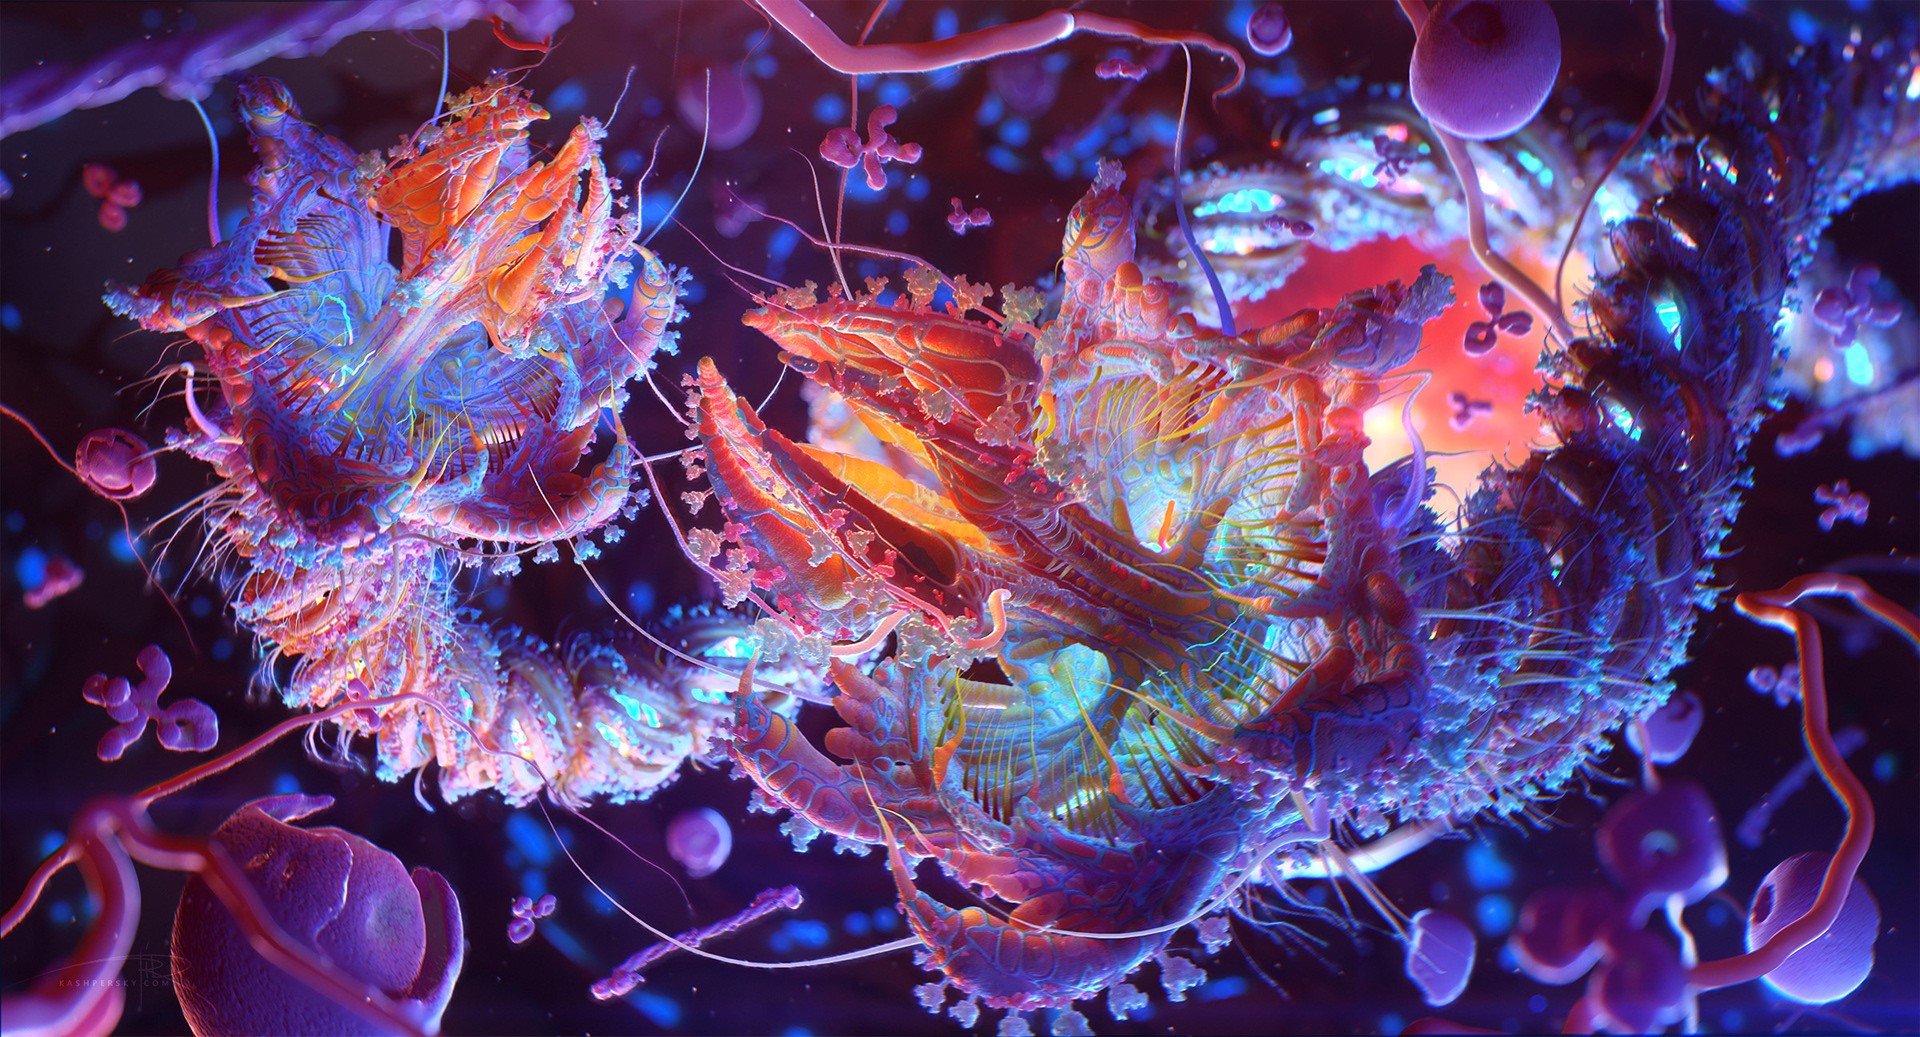
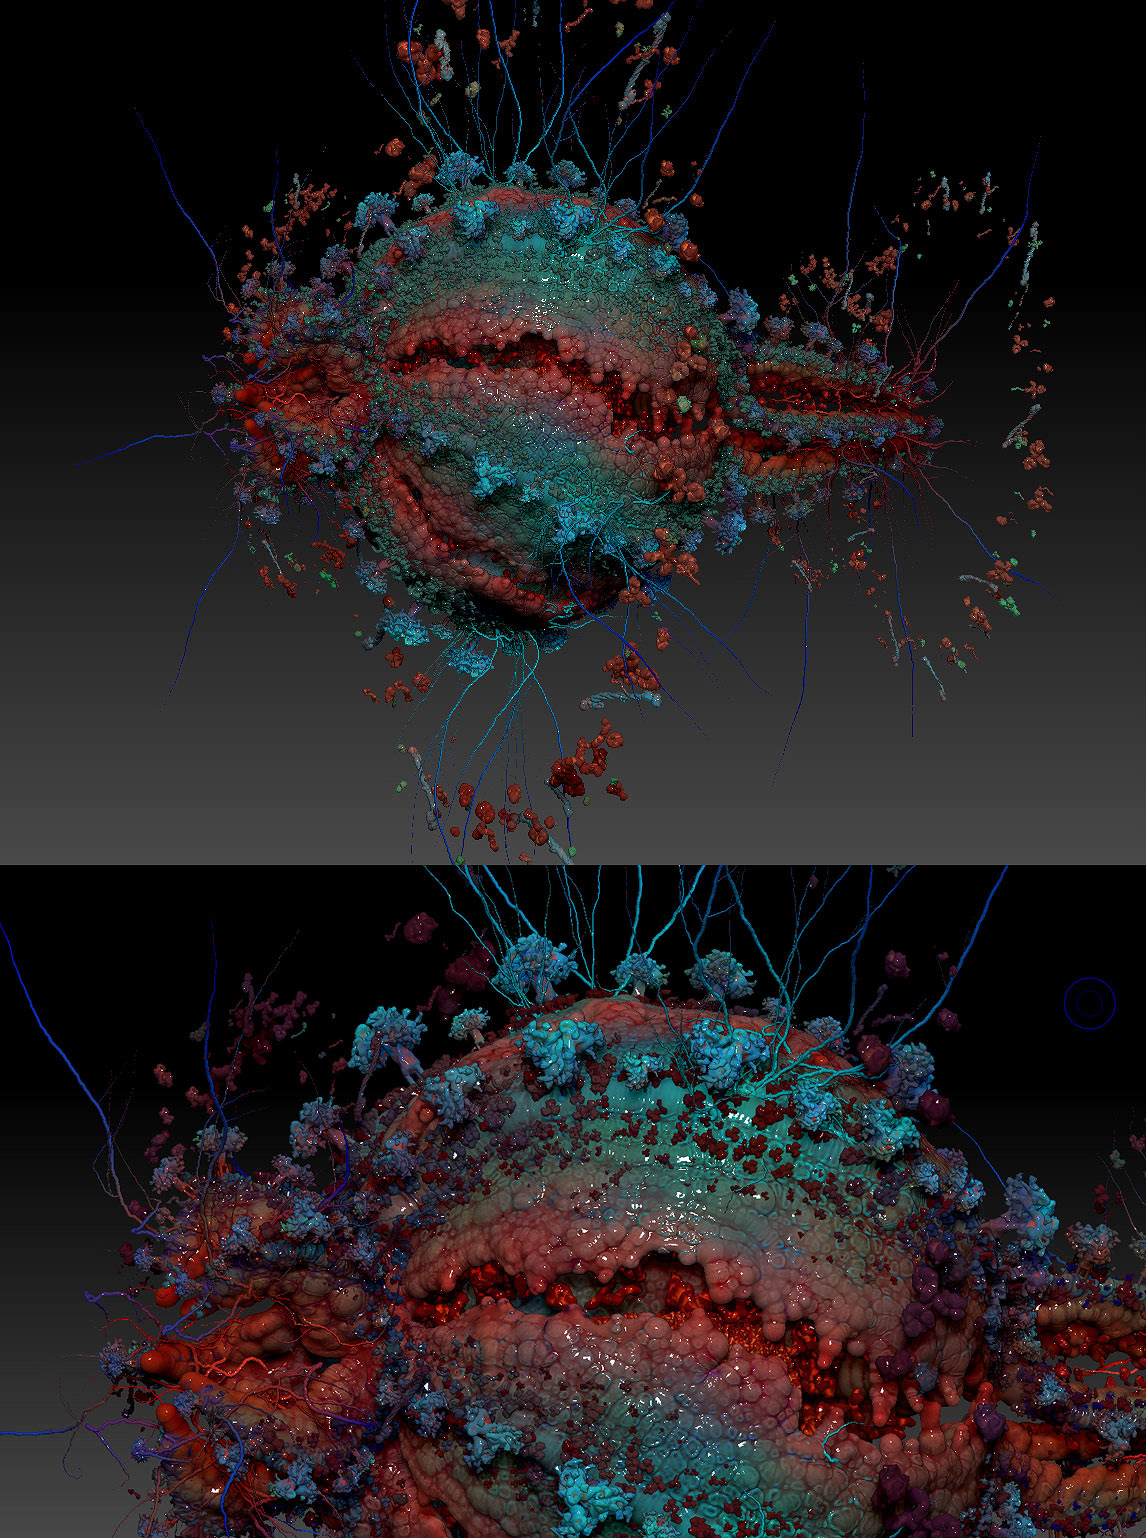
Here is how one of the first draft renders looked like after I put Ebola into the environment, set up the materials and added lights.
Here is how one of the first draft renders looked like after I put Ebola into the environment, set up the materials and added lights.
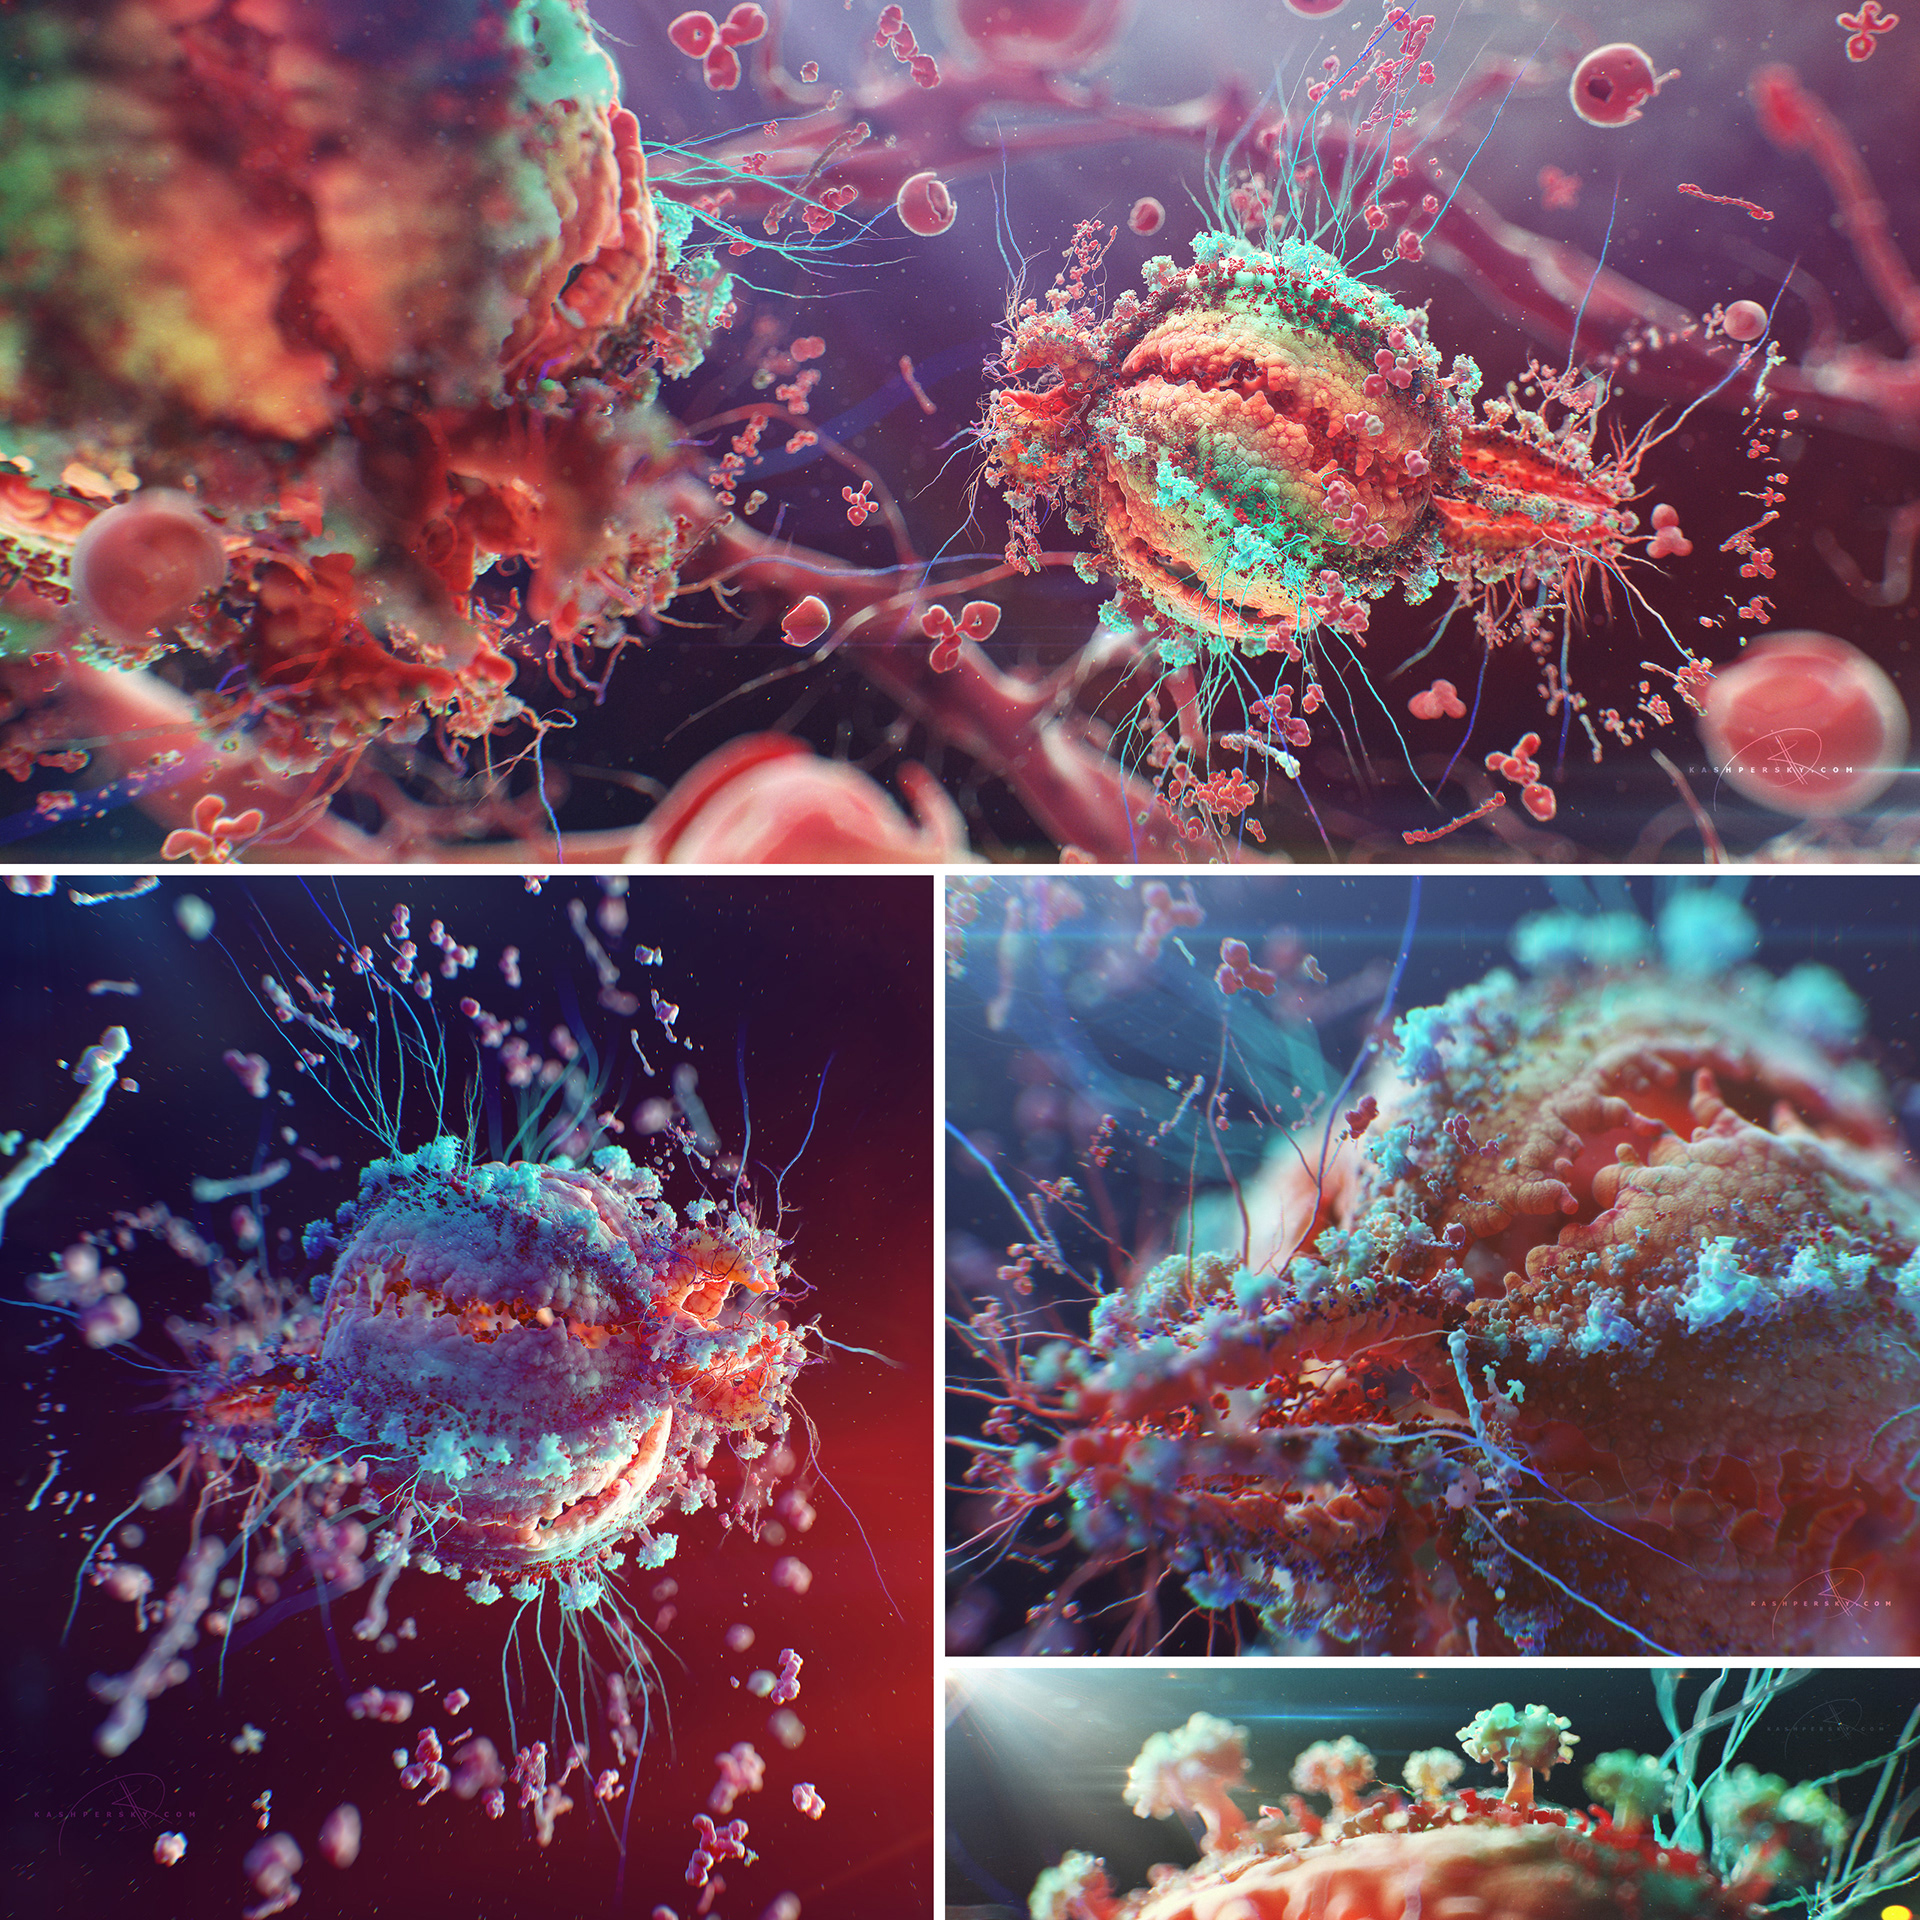
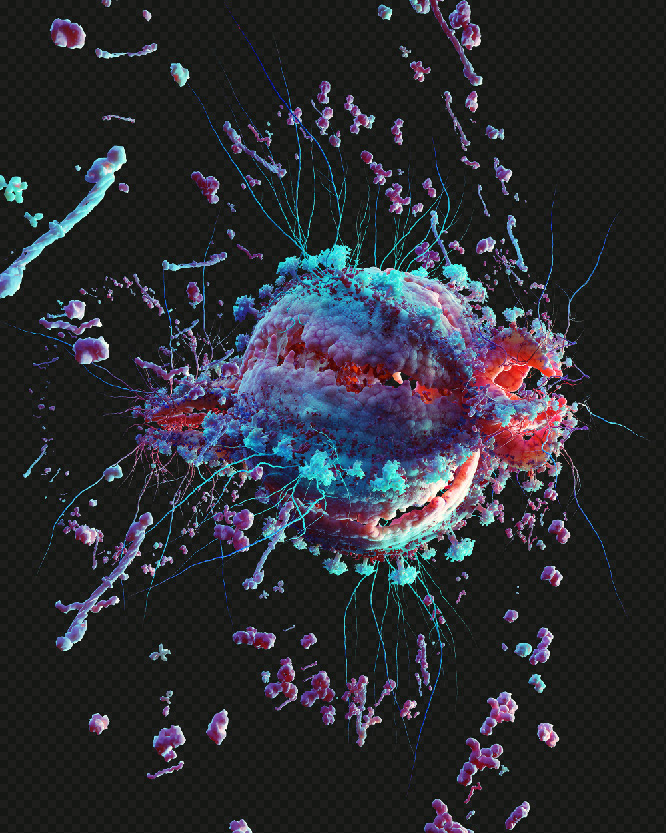
It looks nice, but there is a lack of small details. I added the small blood elements from AutoPack, and the long shapes created with FiberMesh in ZBrush. Here is the next test render, which looks better.
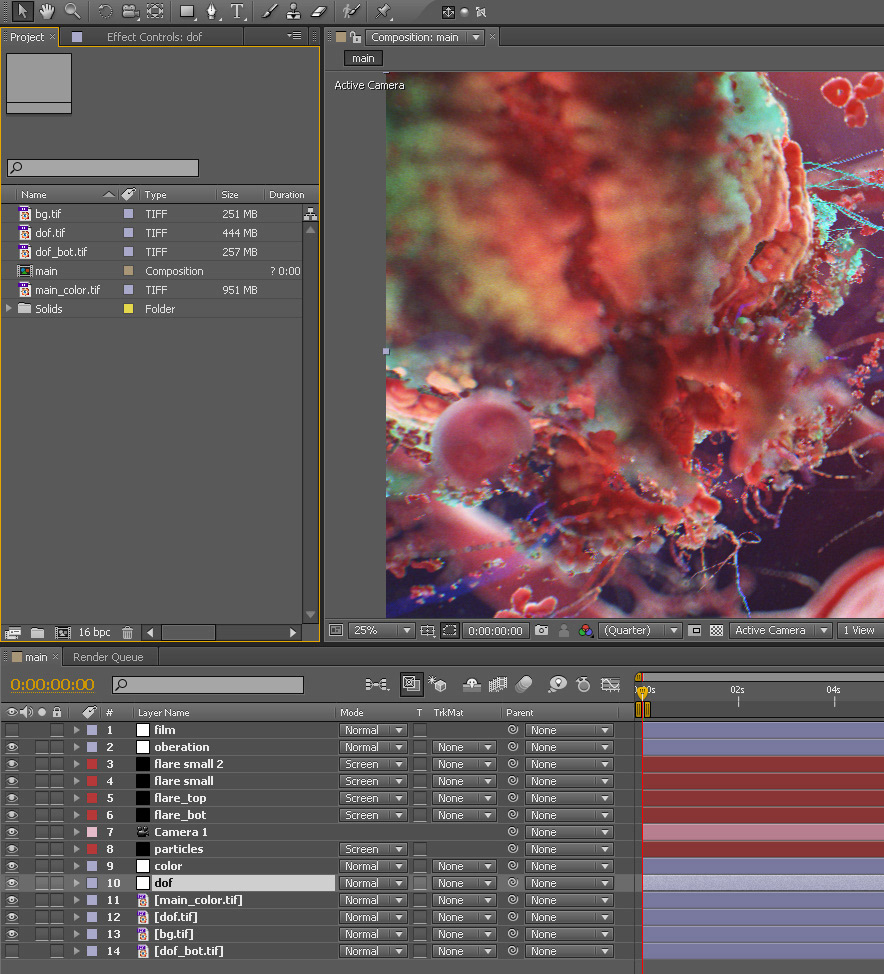
The final step is post-production in After Effects. For the final composition I rendered out the image that contained:
– VRayZDepth
– VRaySSS2
– VRaySpecular
– VRayRefraction
– VRayReflection
– VRayRawTotalLighting
– VRayDiffuseFilter
– MultiMatteElement
– Ambient Occlusion
– Alpha
– RGB pass
– VRaySSS2
– VRaySpecular
– VRayRefraction
– VRayReflection
– VRayRawTotalLighting
– VRayDiffuseFilter
– MultiMatteElement
– Ambient Occlusion
– Alpha
– RGB pass
Each pass was rendered as an EXR 16 bit image which gives more freedom in postproduction. For example, you can only render 1 light in 3ds Max (the blue in this case), and add it as a separate pass to the composition. Then, you can adjust it as needed. After adding some VideoCopilot Optical Flares, Particles and Depth of Field, I got the final image.
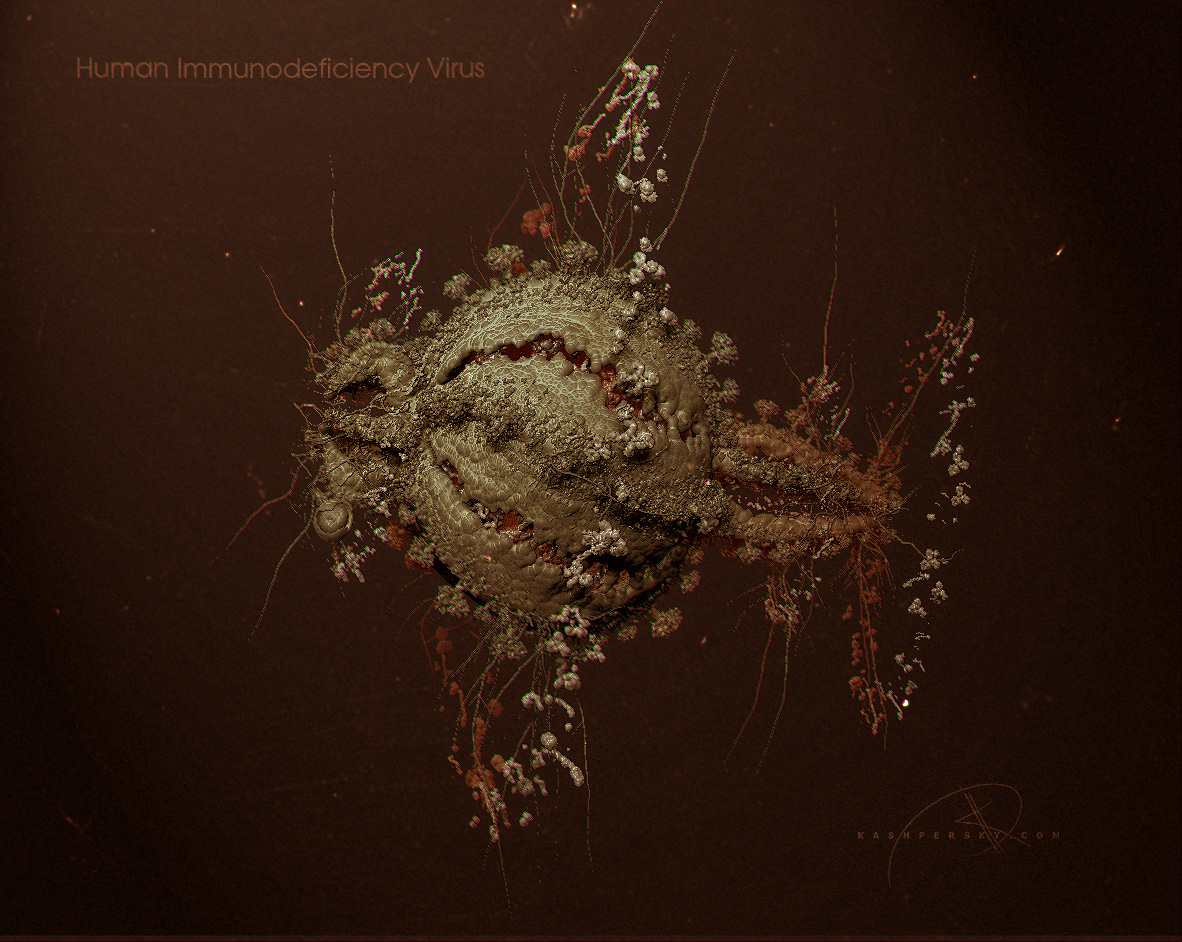
Pretty the same process was about the Human Immunodeficiency Virus Artwork
Many days I tried to find a composition solution, playing with the model. All attempts were not interesting and I decided to go with the other side.
I decided that it is necessary to try to express the nature of the HIV not only in colour or render, but also in the form.
I started drawing, began searching the spirit of HIV on the paper.
I decided that it is necessary to try to express the nature of the HIV not only in colour or render, but also in the form.
I started drawing, began searching the spirit of HIV on the paper.
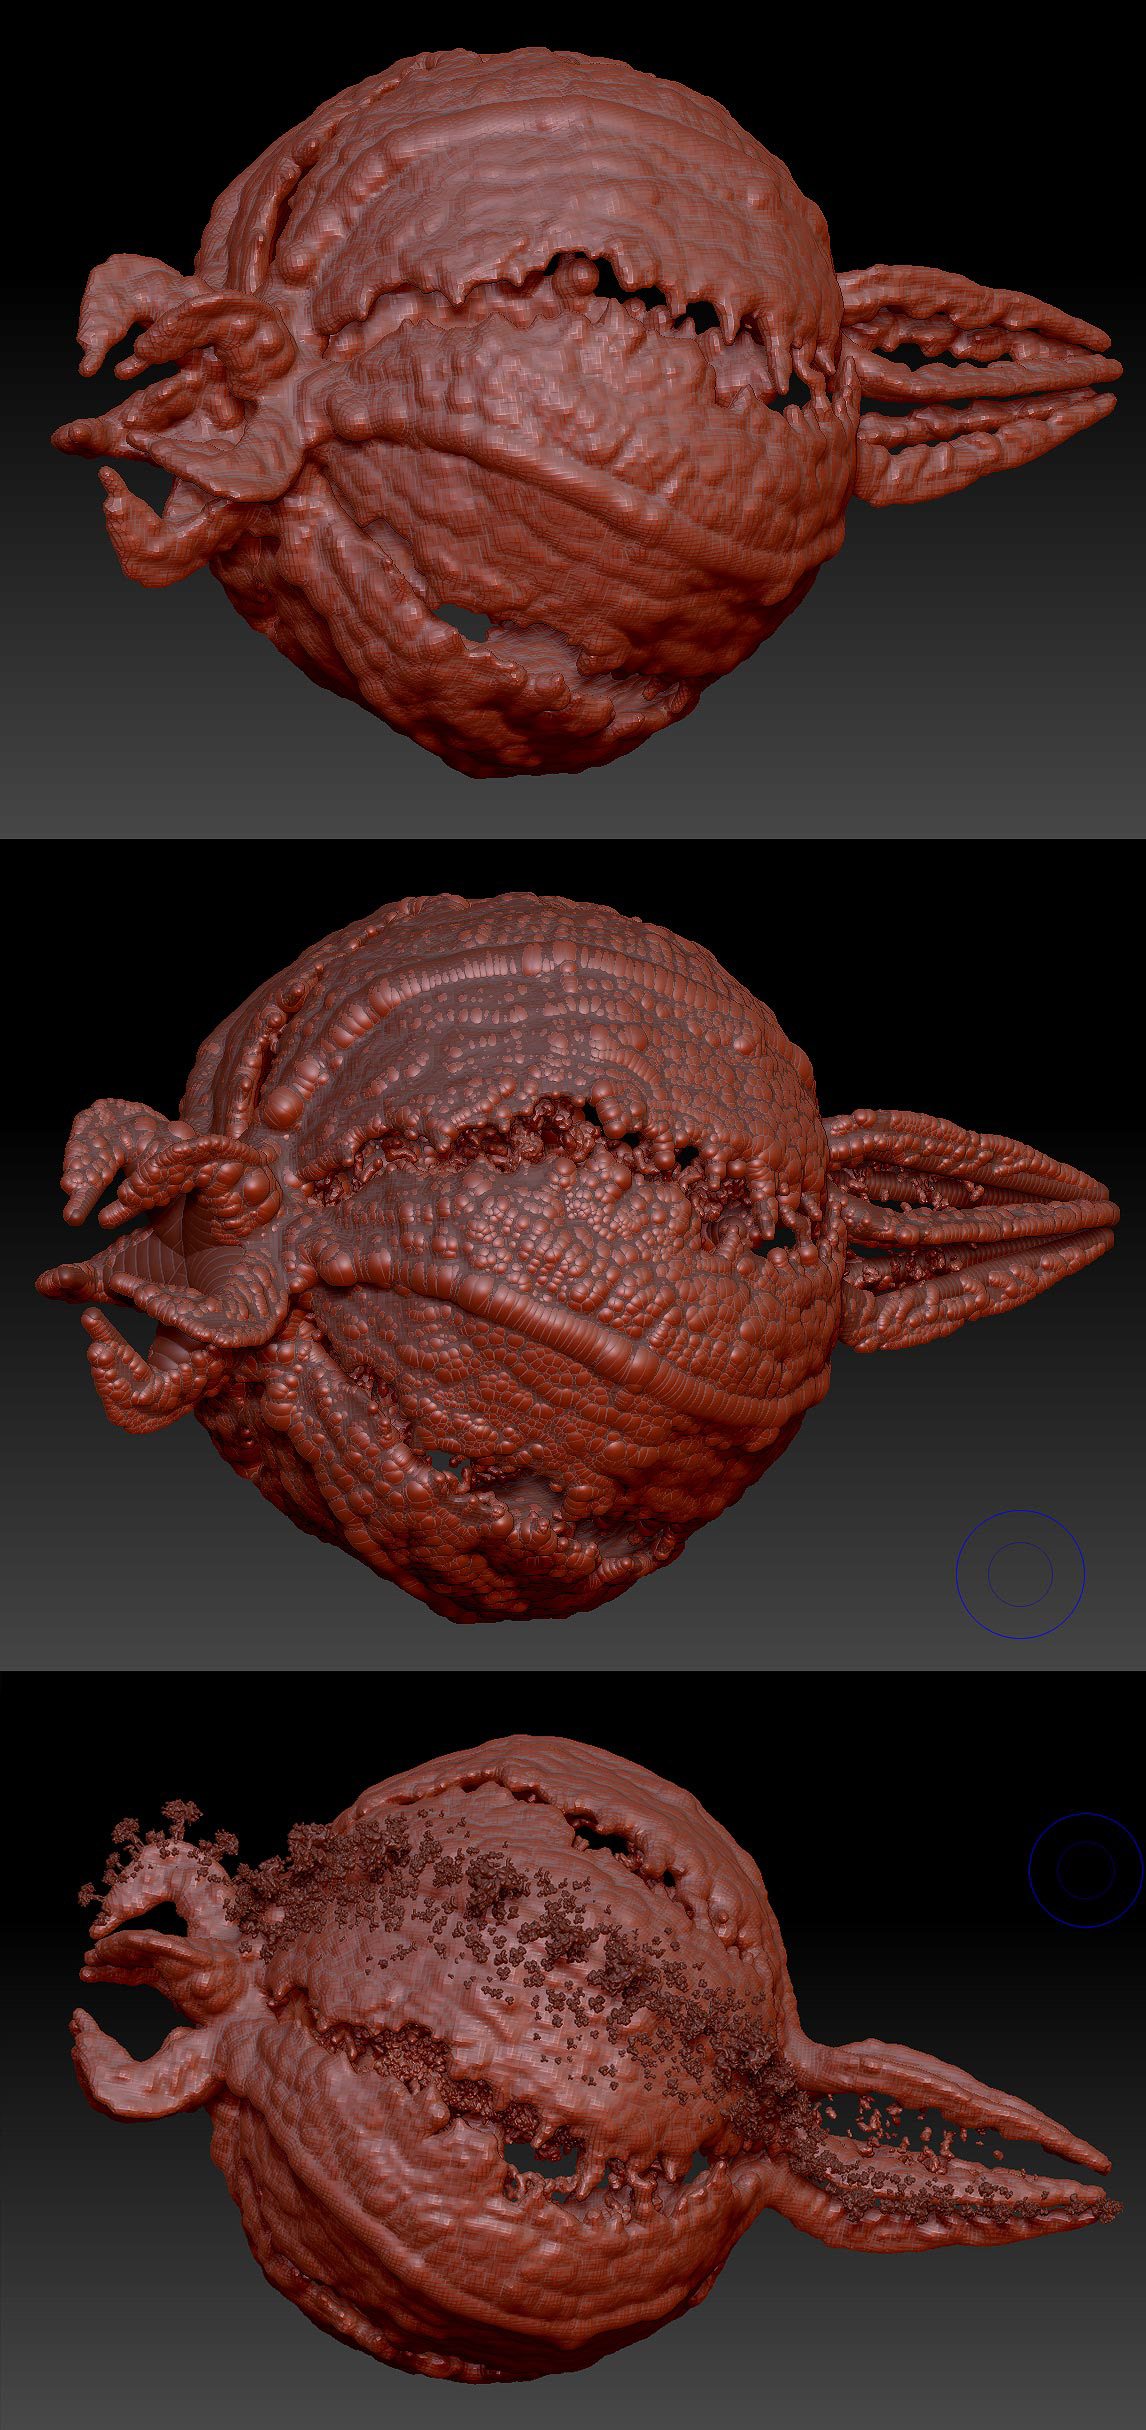
After I found the shape on the paper I have made it in Z-Brush.
Here are the stages of work on the model. Briefly, but I hope the way will be clear.
Here are the stages of work on the model. Briefly, but I hope the way will be clear.
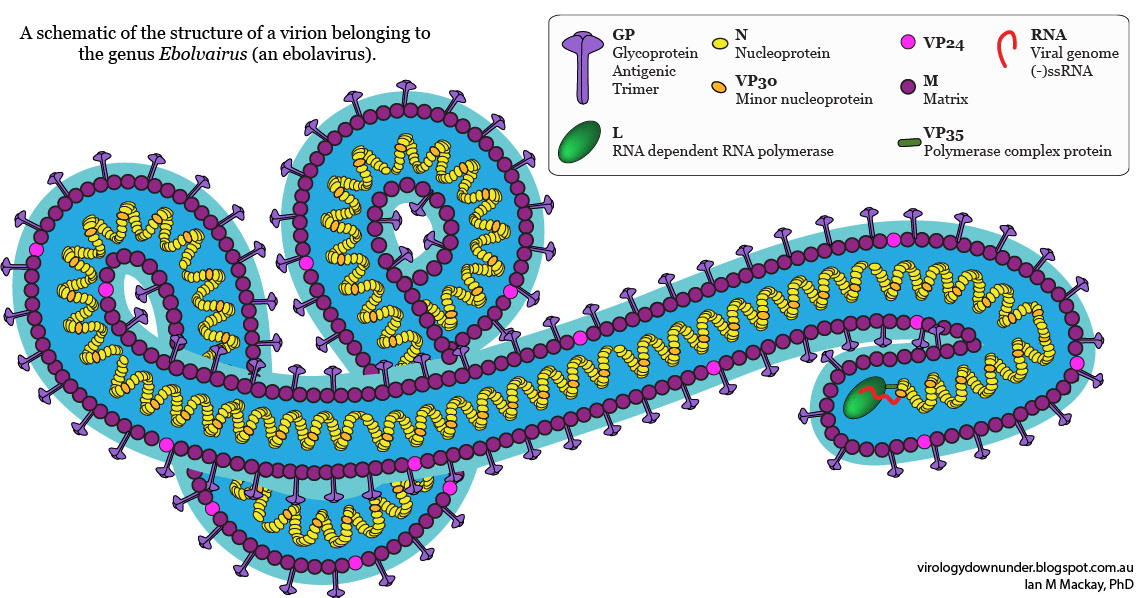
All small elements exept the “body” was taken from the HIV Model generated with CellPACK. (HIVBloodSerum_1.2 autoPACK). I just replase the origimal sphere with my new model.
Body object and CellPACK elements detailed and textured in ZBrush 4, using decimation master to optimize the mesh and UV master for unwarping.
Body object and CellPACK elements detailed and textured in ZBrush 4, using decimation master to optimize the mesh and UV master for unwarping.
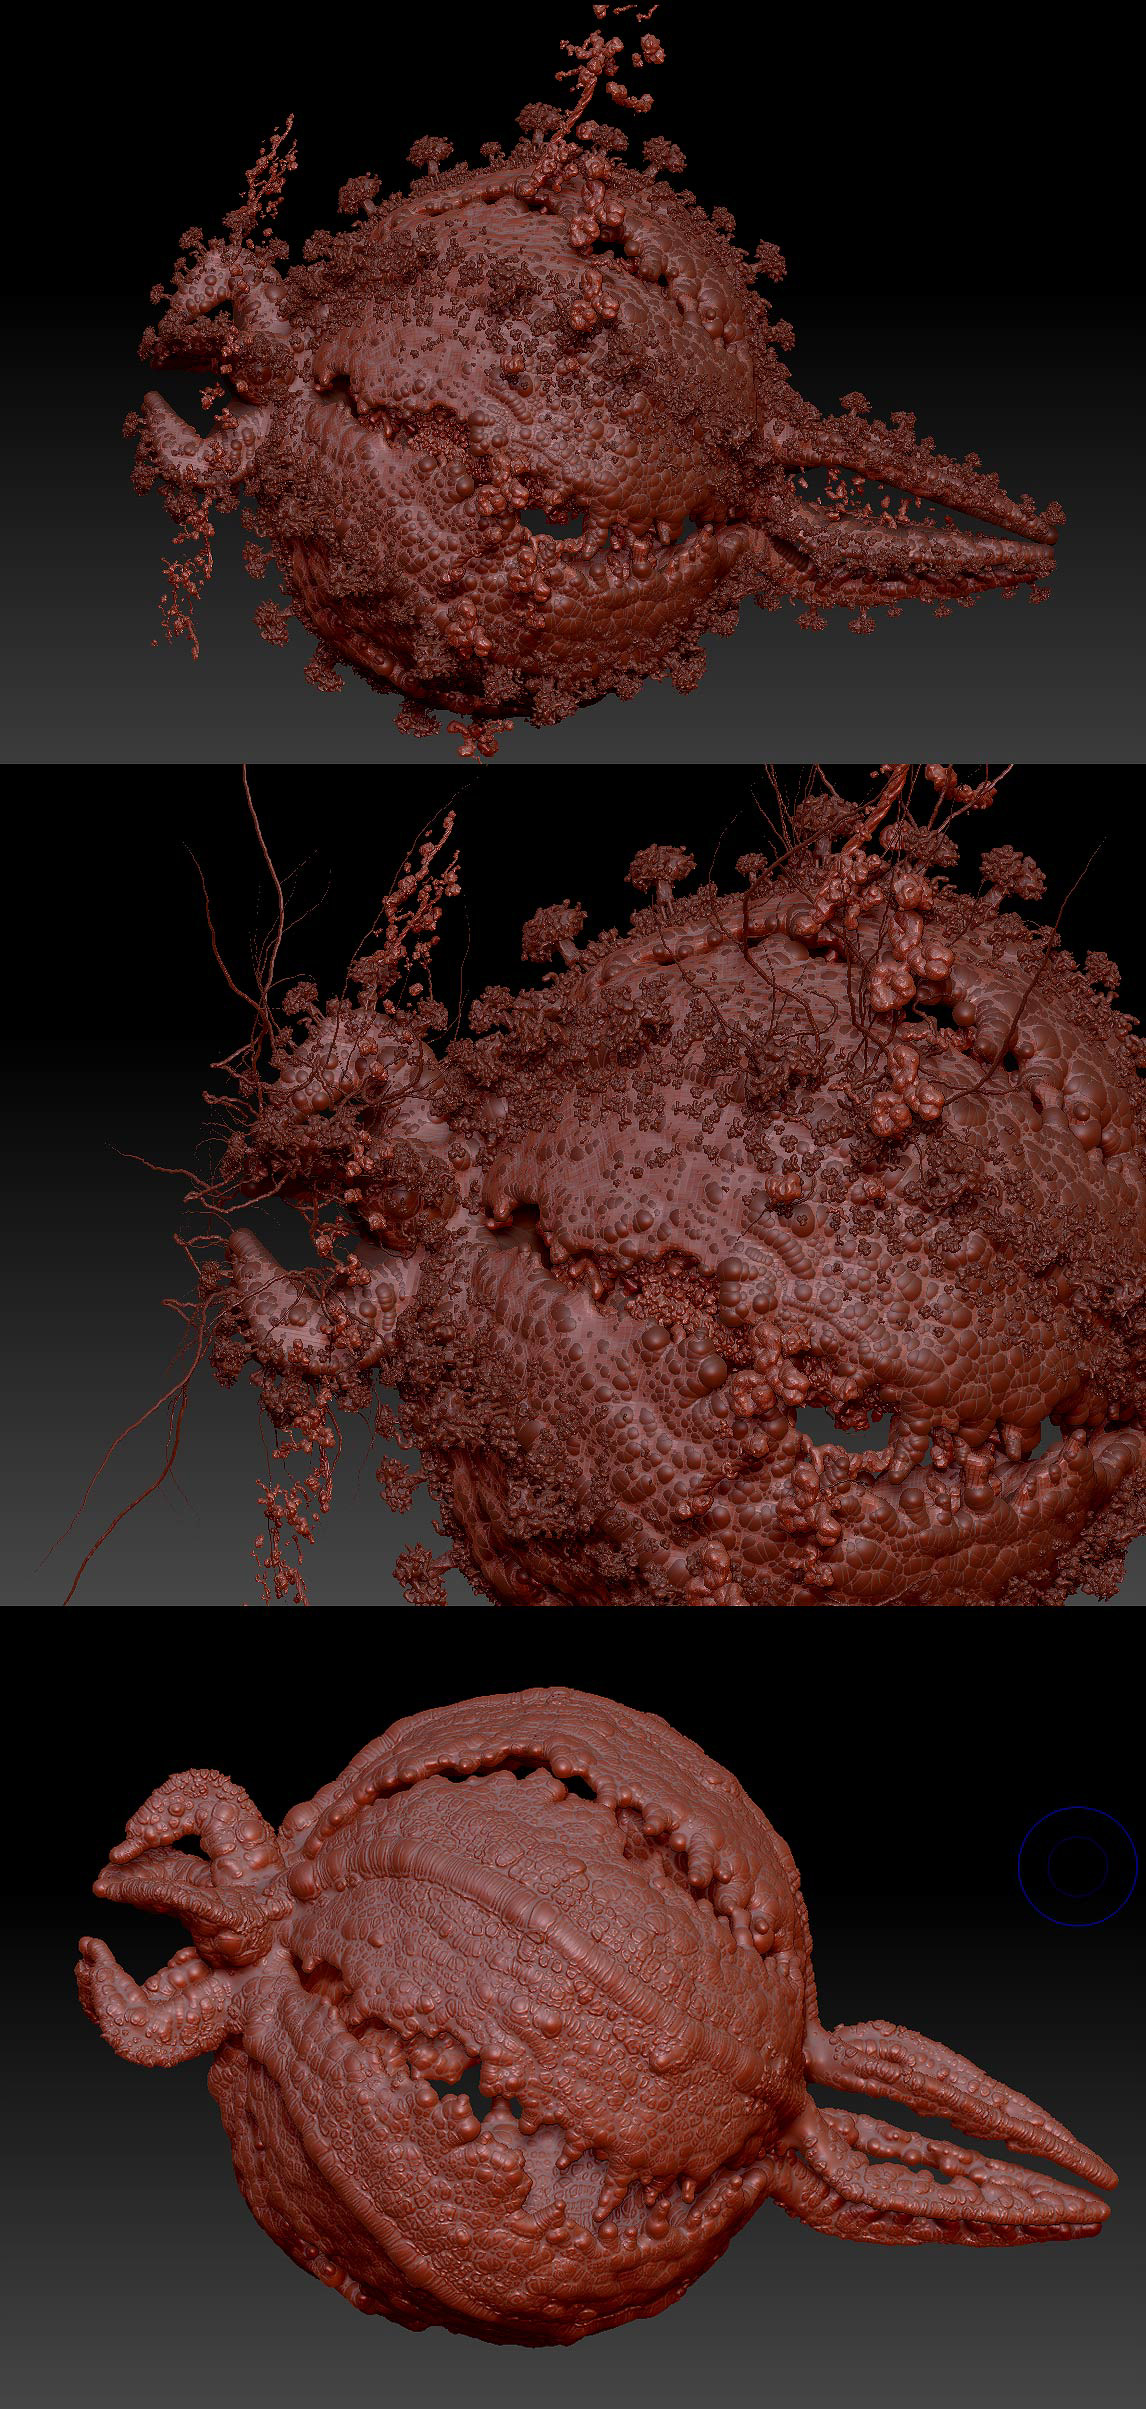
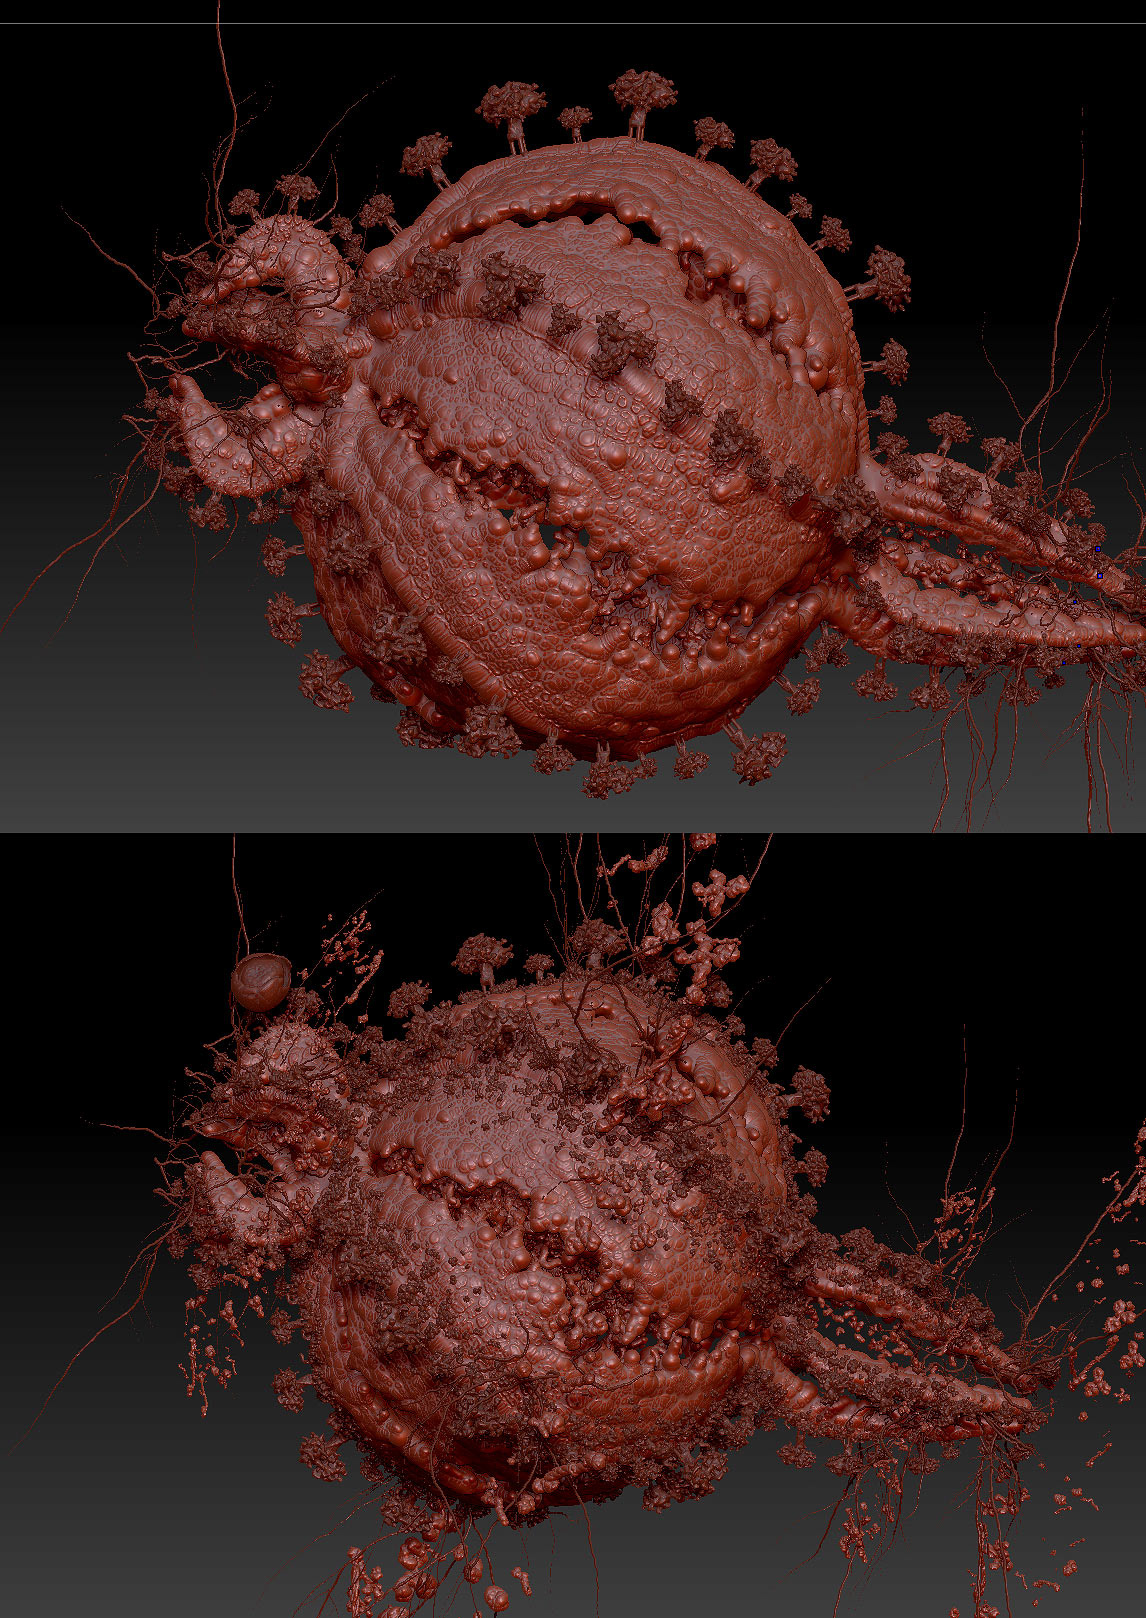
Model done, starting with the texture.

Rendered in VRay SSS2, 3D Max 2013 64Bit
Post done with After Effect and Photoshop.
Post done with After Effect and Photoshop.
Just want to mention that this artwork was done in 2013 and that time I did not have any idea about rendering the RGB in different passes so I got the RGB channel as a single image. But all the rest After Effects process is the same as Ebola.
I hope this tutorial brought you new and useful information. Now go and get creative! :)